Les bases
Qu'est-ce que la personnalisation moto ?
La personnalisation moto consiste à modifier l'apparence, les performances ou l'ergonomie d'une moto de série pour qu'elle corresponde à la vision de son pilote. Cela peut être aussi simple qu'un changement de poignées ou aussi ambitieux qu'une reconstruction intégrale qui prend des mois et transforme chaque boulon de la machine. Le fil conducteur, c'est l'intention — vous décidez délibérément de l'allure, du son et du comportement de votre moto, au lieu d'accepter la fiche technique d'un autre.
Les motards personnalisent pour quatre grandes raisons. L'expression personnelle est la plus viscérale — votre moto ne doit ressembler à aucune autre, et chaque modification raconte qui vous êtes et comment vous roulez. La performance, c'est la quête de plus de puissance, d'un châssis plus incisif et d'un meilleur freinage — un échappement qui ajoute cinq chevaux, une suspension qui vous permet enfin d'attaquer votre départementale préférée en confiance. Le confort, c'est rouler plus loin sans fatigue — une meilleure selle, une suspension revue ou une bulle qui coupe le vent sur autoroute pour arriver frais plutôt que rincé. Enfin, la sécurité couvre les améliorations comme l'éclairage LED qui vous rend visible des automobilistes distraits, des freins plus efficaces qui raccourcissent les distances d'arrêt et de meilleurs pneus qui vous gardent posé sur le mouillé.
Les styles de personnalisation — brève histoire
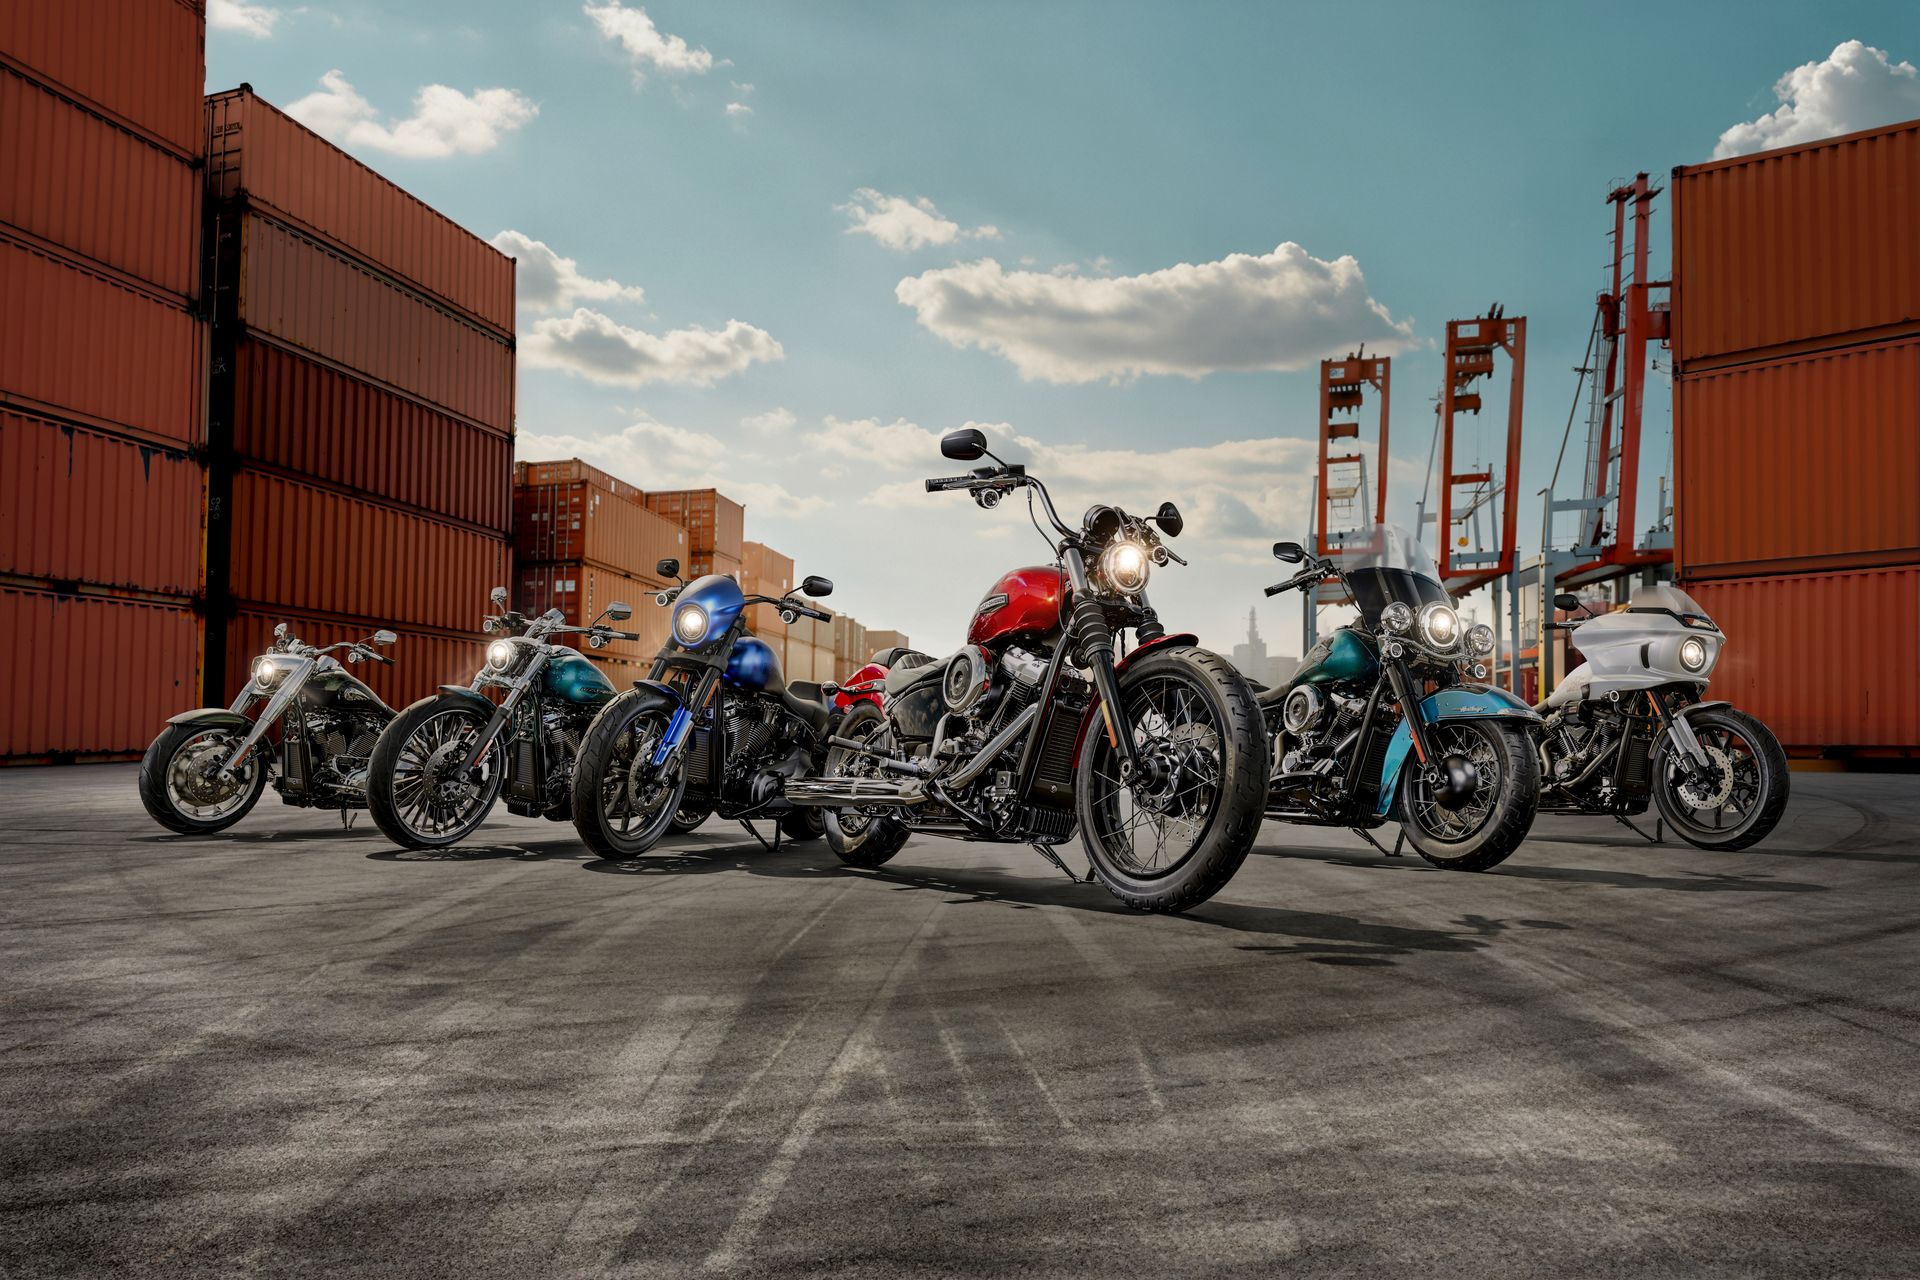
Harley-Davidson occupe une place à part dans la culture custom. C'est sans doute la plateforme moto la plus personnalisée au monde, et cela depuis plus d'un siècle. Après la Seconde Guerre mondiale, les soldats de retour ont dépouillé les motos militaires de surplus jusqu'à l'essentiel — plus légères, plus rapides, plus bruyantes. Ils ont créé le bobber : garde-boue raccourcis, selles solo, carrosserie minimale et une honnêteté mécanique brute qui définit encore le style aujourd'hui. Parmi les bonnes bases pour un bobber : la Sportster et la Softail Standard — toutes deux offrent une toile vierge qui répond bien au dépouillement.
Dans les années 1960, l'esprit rebelle du bobber avait évolué vers le chopper, caractérisé par des cadres à angle de chasse ouvert, des fourches rallongées, de hauts guidons ape-hanger et des réservoirs étirés. Le chopper est l'expression la plus spectaculaire de la personnalisation moto — chaque ligne est exagérée, chaque proportion poussée à l'extrême. Les plateformes Softail et Dyna sont depuis longtemps le point de départ privilégié des préparateurs de choppers.
La scène touring a donné naissance au bagger — une machine de tourisme reconstruite comme une œuvre roulante, avec peinture custom, suspension rabaissée, valises étirées et roues aftermarket. Les Road Glide et Street Glide sont les plateformes bagger dominantes, et le style a explosé au cours de la dernière décennie. L'influence du cafe racer, empruntée à la culture sportive britannique, a apporté les bracelets, les commandes reculées et la recherche d'une vitesse épurée et utile sur la plateforme V-twin de Harley — la Sportster S et la Nightster sont des candidates naturelles. Le streetfighter débarrasse une sportive de son carénage pour exposer le moteur, ajoute un guidon haut et une présence mécanique brute — l'agressivité à l'état pur. Enfin, la tendance scrambler rend les motos standard aptes au tout-chemin avec des pneus crantés, des échappements hauts et des protections moteur.
Aujourd'hui, le châssis Softail de Harley-Davidson est conçu pour la personnalisation — un monoamortisseur caché offre un vrai confort de suspension tout en préservant la silhouette épurée de type hardtail que les préparateurs adorent. Que vous construisiez un bobber dépouillé ou un bagger complet, la Softail moderne est la base la plus polyvalente de la gamme Harley.
À propos de ce guide
Ce guide est signé Iron Stable, l'un des plus grands détaillants en ligne de pièces et accessoires Harley-Davidson du Royaume-Uni. Nous proposons plus de 106 330 produits issus de 399 marques, préparés et expédiés par Leeds Harley-Davidson — un concessionnaire agréé fort de décennies d'expérience Harley. Chaque recommandation ci-dessous renvoie à des pièces réelles que vous pouvez acheter, avec des prix exacts, la remise membre visible et des données de compatibilité publiées. Les sélections de produits de ce guide se mettent à jour automatiquement — dès qu'un réassort arrive ou qu'un prix change, les pièces affichées ici le reflètent immédiatement.
Puissance et réponse
Personnalisation performance
Lignes d'échappement
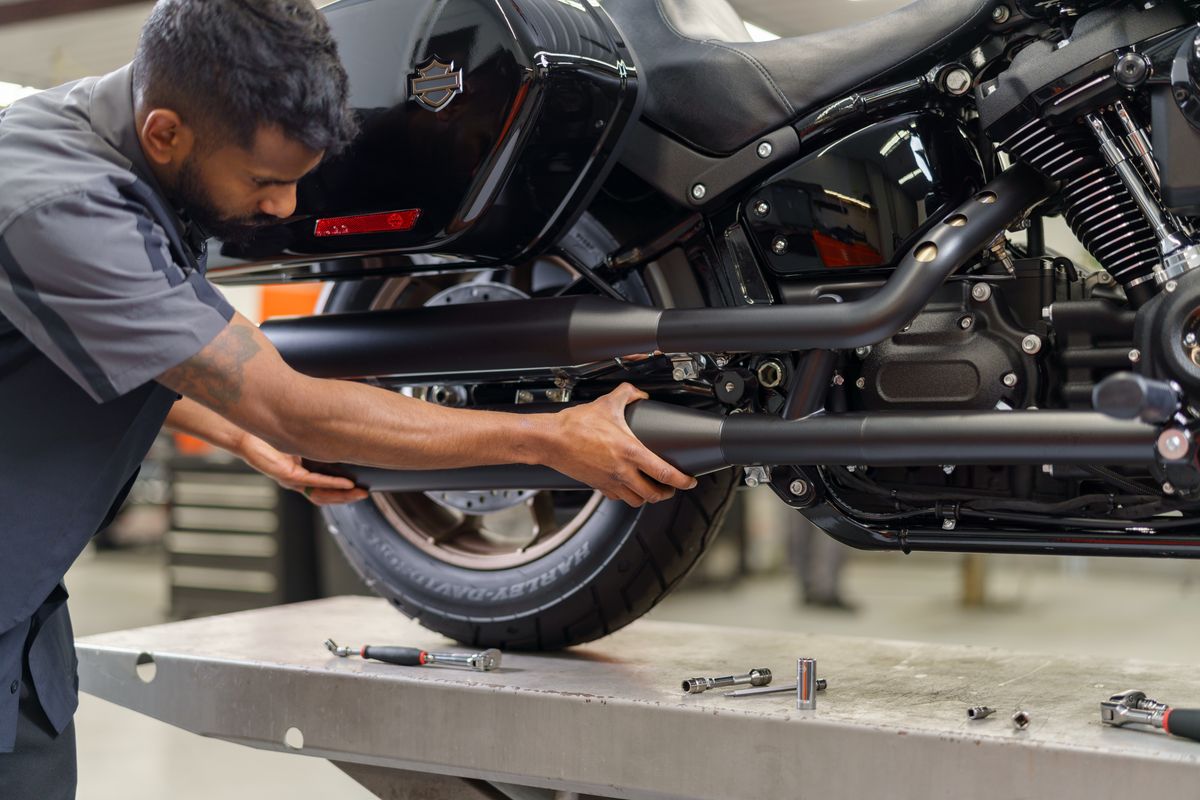
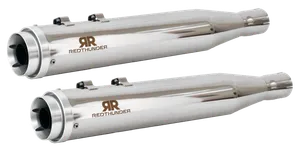
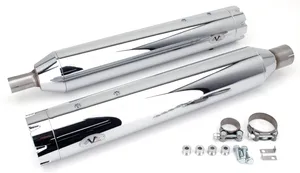
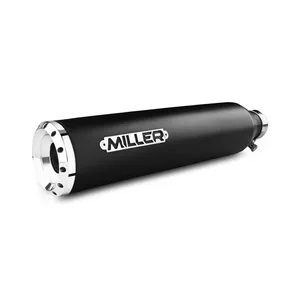
L'échappement est la première modification la plus populaire, et pour de bonnes raisons — il change le son, l'allure et le caractère de la moto en un seul montage en bolt-on. Les silencieux slip-on ne remplacent que les cartouches arrière et se boulonnent sur les collecteurs d'origine en 15–30 minutes avec de l'outillage à main basique. Ils apportent un gain de sonorité immédiat et un allègement modeste. Les lignes complètes — collecteurs et silencieux remplacés ensemble — représentent un engagement plus lourd mais offrent des gains mesurables, typiquement 5–10 % de puissance en plus sur un V-twin Harley. La contrepartie : sur une moto à injection, une ligne complète impose une recalibration de l'ECU (module de gestion d'essence ou reprogrammation au banc), et sur les modèles à carburateur plus anciens, il faut regicler le carburateur. Des chicanes bien calculées à l'intérieur d'un silencieux de qualité conservent une sonorité grave et typée sans sacrifier le couple à bas régime. Les motards britanniques doivent savoir que les straight pipes font échouer le MOT — des chicanes homologuées route ou des dB killers amovibles sont indispensables.
Parcourez toute notre gamme de lignes d'échappement, avec des marques comme Vance & Hines et S&S Cycle.
Améliorations d'admission d'air
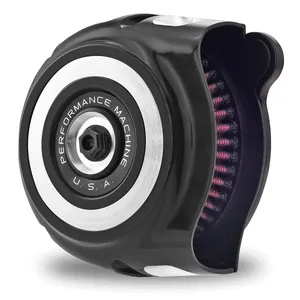
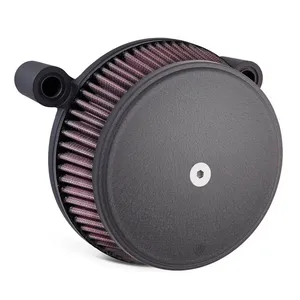
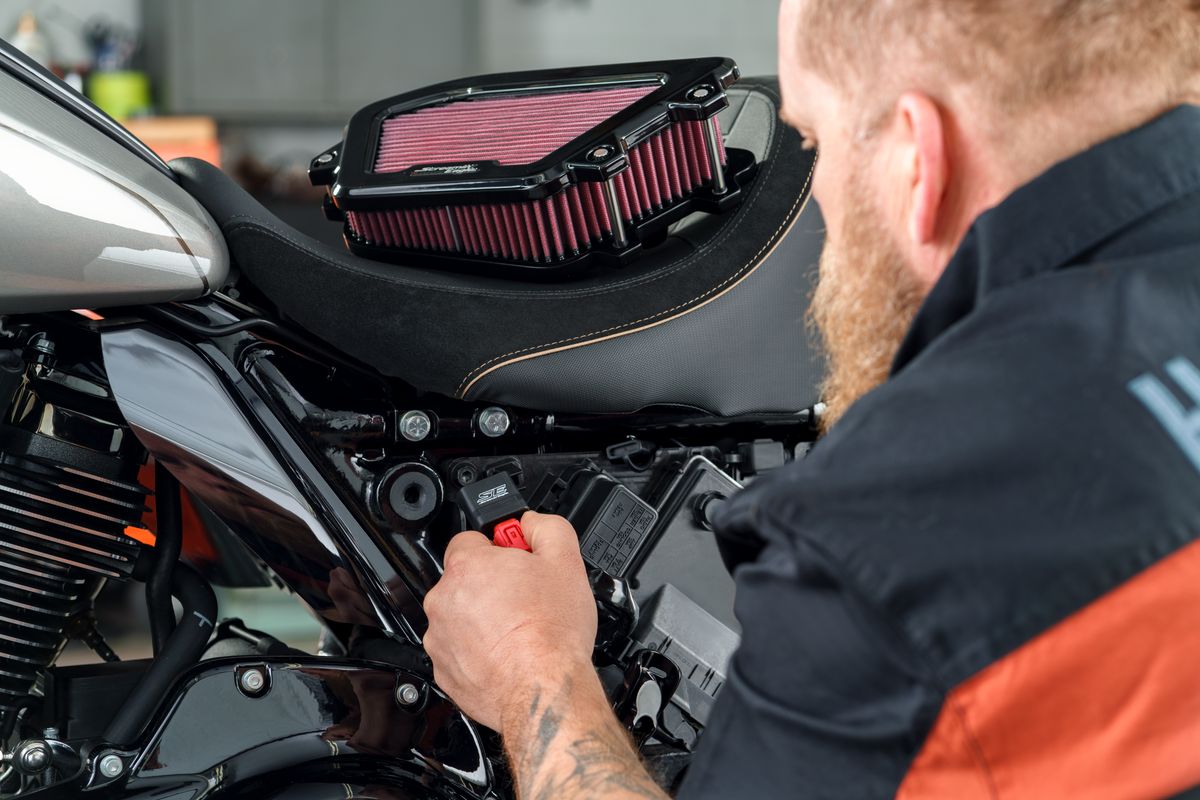
Un filtre à air à haut débit associé à un échappement performance, c'est l'amélioration Stage 1 classique — plus d'air en entrée, plus de gaz en sortie, plus de puissance. S&S Cycle, Screamin' Eagle et K&N dominent ce créneau avec des kits en bolt-on qui remplacent la boîte à air d'origine, très restrictive. Sur les motos à carburateur, le regiclage est indispensable après la pose d'un kit d'admission — un mélange trop pauvre (trop peu d'essence pour l'air supplémentaire) provoque des surchauffes et peut endommager les pistons. Sur les motos à injection, un module de gestion d'essence cartographie automatiquement le nouveau débit d'air.
Découvrez notre sélection admission d'air.
Le schéma Stage 1-2-3
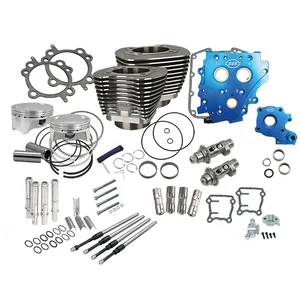
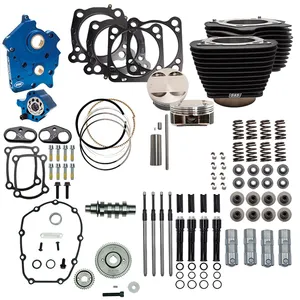
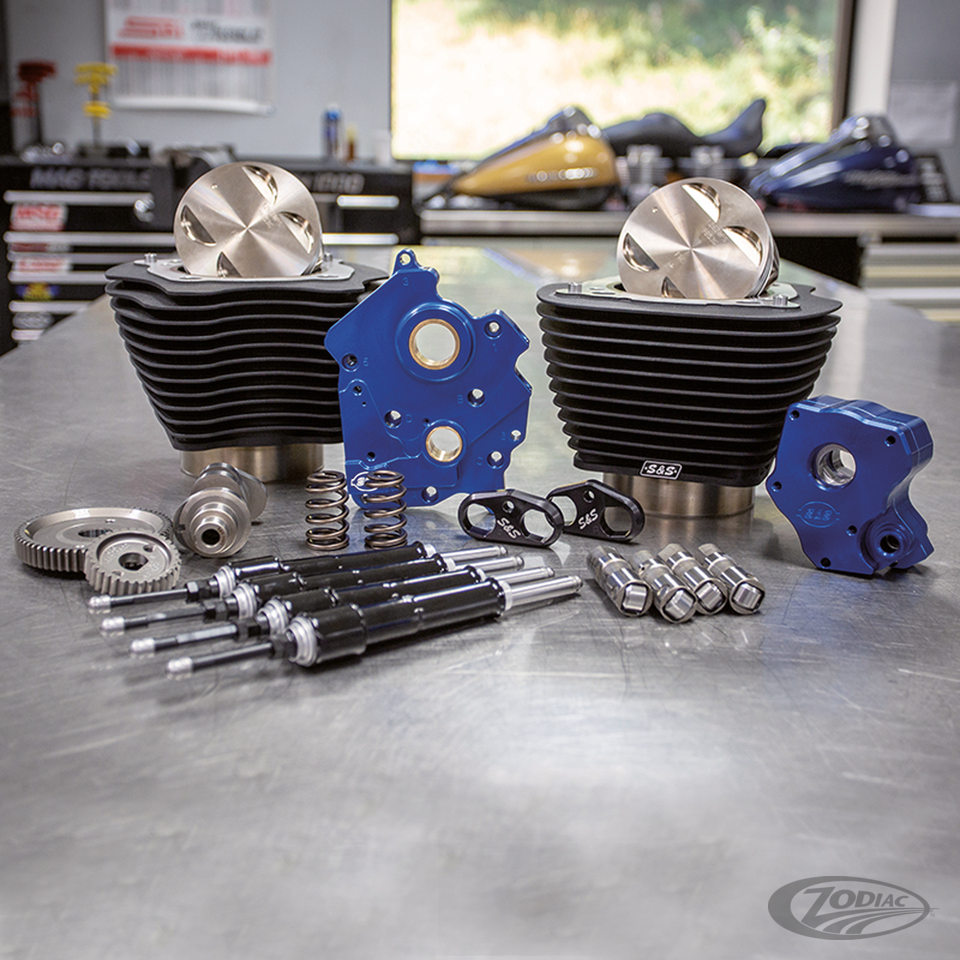
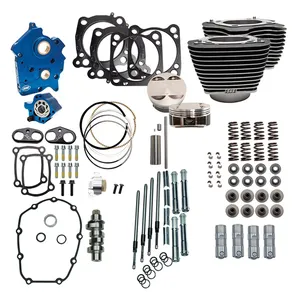
Les motards Harley-Davidson disposent d'une progression bien établie pour les préparations moteur. Le Stage 1 — échappement, filtre à air et reprogrammation de l'ECU — est entièrement en bolt-on, totalement réversible, et offre le meilleur rapport gain/livre sterling. Le Stage 2 ajoute des arbres à cames performance, qui demandent davantage de compétences mécaniques et généralement un passage à l'atelier ; les cames redessinent la courbe de puissance, en ajoutant du punch à mi-régime ou de l'allonge en haut selon le profil. Le Stage 3, c'est le kit big bore — cylindres et pistons de plus grande dimension qui augmentent la cylindrée. On entre là dans le vrai territoire de la puissance (des gains de 20 % et plus sont courants), mais vous touchez à l'intérieur du moteur et une installation professionnelle est fortement recommandée. Chaque étape s'appuie sur la précédente : commencer au Stage 1 vous permet de sentir la différence avant d'aller plus loin.
Modifications complémentaires
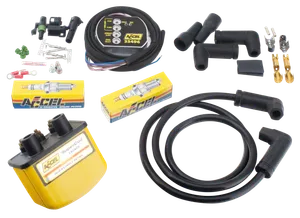
Des bobines d'allumage performance et des bougies iridium affûtent la réponse à l'accélérateur et améliorent les démarrages à froid. Un vilebrequin allégé réduit les masses en rotation pour un moteur plus vif. Sur les V-twin refroidis par air — c'est-à-dire la majorité des moteurs Harley-Davidson — un radiateur d'huile est un investissement judicieux. Il prolonge la vie du moteur lors des roulages soutenus ou des grosses chaleurs estivales en maintenant la température d'huile dans une plage sûre. La circulation en accordéon punit particulièrement les moteurs refroidis par air, et un radiateur d'huile peut faire baisser les températures de 15–20 °C en charge.
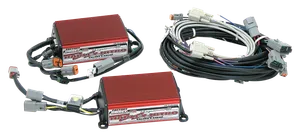
Pour ceux qui veulent tirer le maximum du moteur sans en modifier l'intérieur, un système de gestion d'essence est indispensable. Des boîtiers comme le Dynojet Power Commander ou le Vance & Hines Fuelpak permettent une cartographie précise, adaptée à votre combinaison échappement/admission. Sur les Harley à carburateur plus anciennes, l'équivalent est le regiclage — remplacer les gicleurs en laiton du carburateur pour délivrer plus d'essence dans le bon rapport. Un mélange trop pauvre (trop peu d'essence pour le débit d'air) provoque surchauffe, cliquetis et, au pire, des dégâts aux pistons. Un mélange trop riche gaspille du carburant et encrasse les bougies, mais c'est le côté le plus sûr vers lequel pencher en cas de doute.
Explorez toutes les pièces moteur.
Pièces performance de notre catalogue

Allure et identité
Personnalisation du style et de l'apparence
Peinture custom et finitions
La peinture définit la personnalité d'une moto au premier coup d'œil, et la finition retenue donne le ton de toute la préparation. Le brillant offre des reflets profonds et une couleur riche — le choix classique, qui fonctionne aussi bien sur un bagger que sur un bobber — mais il révèle les micro-rayures et impose une technique de lavage soignée (toujours un shampoing moto au pH neutre et des microfibres). Les finitions mates et satinées donnent une esthétique furtive et moderne — de plus en plus présentes sur des Harley de série comme la Fat Bob et la Street Bob — mais elles se rayent plus facilement et exigent des produits spécifiques compatibles mat, qui n'ajoutent pas de brillance indésirable. Les peintures candy et métallisées créent de la profondeur par superposition de couches translucides ; la teinte change selon la lumière et fait de la moto une vraie pièce de caractère — mais elles demandent un peintre expérimenté et coûtent nettement plus cher qu'une finition monocouche.
Le covering vinyle s'est imposé comme une alternative de plus en plus populaire à la peinture — moins cher, disponible en des centaines de coloris et de textures (carbone, métal brossé, effets caméléon), et retirable sans abîmer la peinture d'origine en dessous. Un covering complet du réservoir et des garde-boue transforme l'allure d'une moto pour une fraction du prix d'une peinture professionnelle. Pour personnaliser à petit budget, les stickers et filets peints apportent du caractère sans gros investissement.
Pour les cadres, les roues et les caches moteur, le thermolaquage est plus résistant que la peinture liquide — il encaisse les gravillons, ne jaunit pas aux UV et supporte les produits chimiques ; il existe dans pratiquement toutes les teintes, y compris texturées et métallisées. Le chrome reste un classique pour les pièces d'accent, mais il exige un polissage régulier pour éviter la piqûre et le ternissement sous le climat humide britannique. Pour protéger durablement votre investissement peinture, pensez au film de protection de peinture (PPF) sur les zones exposées aux gravillons comme le garde-boue avant et les flancs de réservoir, et au traitement céramique pour une surface hydrophobe et facile à nettoyer, qui rehausse le brillant et repousse la crasse de la route pendant des années avec un entretien minimal.
Carrosserie — définir la silhouette
Les garde-boue définissent le caractère d'une moto plus que presque n'importe quelle autre pièce. Les garde-boue arrière raccourcis ramènent la machine à l'essentiel — agressive, minimale, utile. Les garde-boue arrière rallongés créent une courbe vintage qui convient aux préparations cruiser classiques. À l'avant, un garde-boue raccourci ou déposé dégage la roue et la fourche — mais vérifiez les exigences du MOT local avant de rouler sans. Le style de réservoir ancre l'identité de la préparation : réservoirs teardrop pour les cruisers, Frisco-mount (rehaussés) pour les choppers, slimline pour les café racers et réservoirs anguleux à flancs plats pour les préparations brat. Les empreintes de genoux soudées dans les réservoirs acier sont une signature café racer qui améliore aussi le maintien au freinage appuyé.
Parcourez toutes les pièces de carrosserie.
Guidons et commandes
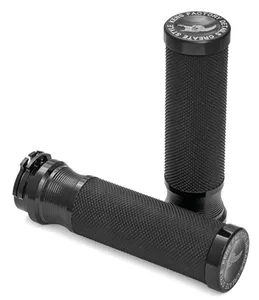
Le guidon fixe d'un coup la posture de conduite et l'attitude visuelle. Les ape hangers créent la position chopper décontractée — bras en l'air, pieds en avant — mais câbles, durites de frein et faisceau doivent tous être rallongés quand on monte haut : prévoyez un kit de câbles. Les drag bars sont droits et étroits, pour un look bobber ou streetfighter épuré. Les bracelets se montent sous le té de fourche pour l'agressivité café racer. Les guidons tracker sont larges avec un léger cintre et offrent le levier d'un scrambler sur revêtements mixtes. Au-delà du guidon, poignées, rétroviseurs et leviers sont la modification visuelle la moins chère et la plus efficace — rétroviseurs en bout de guidon, leviers courts et poignées métal moletées transforment le poste de pilotage pour moins de £100.
Découvrez notre gamme guidons et commandes.
Roues et pneus
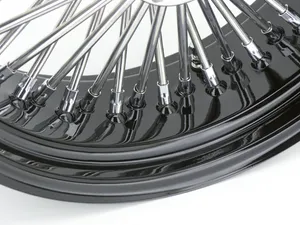
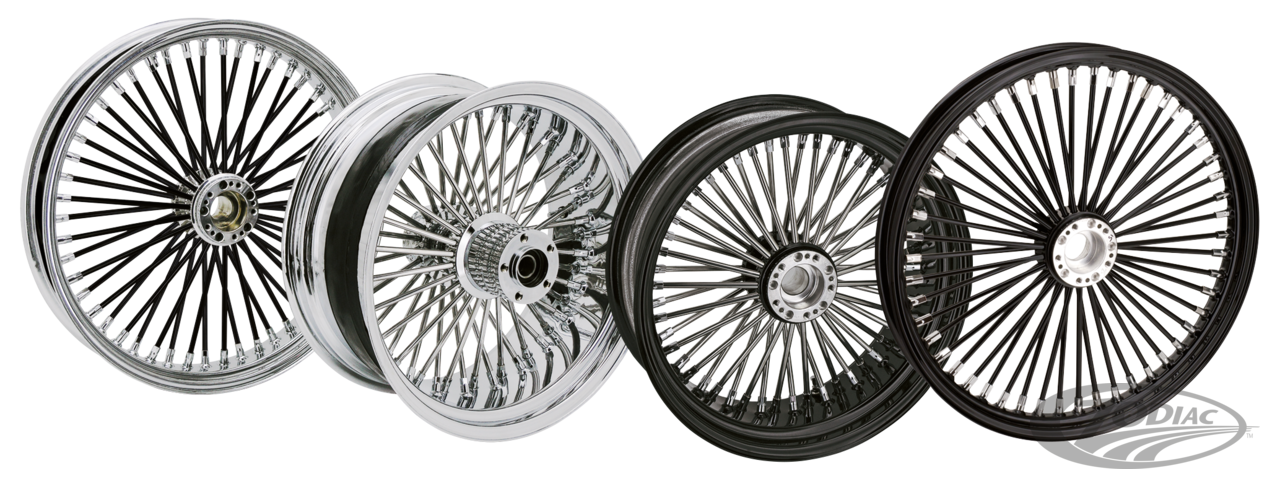
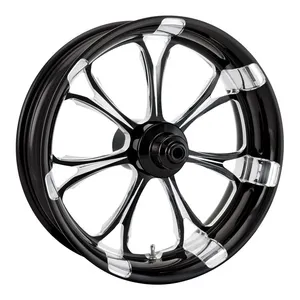
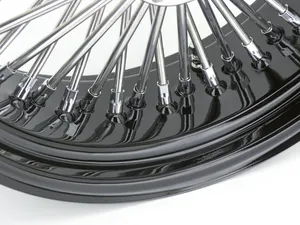
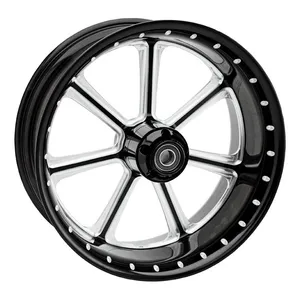
Les roues à rayons sont intemporelles et légèrement flexibles, ce qui les rend meilleures sur revêtement dégradé et privilégiées sur les préparations vintage — mais elles imposent des chambres à air et un dévoilage périodique des rayons. Les roues en alliage moulé sont rigides, plus légères et moins exigeantes en entretien, avec des pneus tubeless d'origine. La taille des roues change le caractère de la moto : des roues de 16–18" donnent une sensation classique et pleine de couple, appréciée sur les bobbers et les choppers, tandis que des roues de 19–21" apportent de la stabilité à haute vitesse et sont le choix standard des café racers et des montages tourisme.
Le choix du pneu compte autant que la roue elle-même. Les pneus à flancs blancs parachèvent une préparation vintage et vont parfaitement aux bobbers et aux cruisers classiques. Des pneus dual-sport crantés transforment une Sportster en scrambler réellement capable hors bitume. Pour la performance pure sur route, la gomme sport-tourisme moderne de marques comme Michelin et Dunlop offre une adhérence remarquable sur le sec comme sur le mouillé. N'oubliez pas que les pneus doivent porter une homologation DOT ou ECE pour être autorisés sur route au Royaume-Uni — la gomme bon marché ou non homologuée est une fausse économie et un risque pour la sécurité. Si vous changez sensiblement de taille de roue, prévoyez le recalibrage du compteur, d'éventuels problèmes de garde avec les garde-boue et le bras oscillant, et l'effet sur la démultiplication finale.
Explorez notre sélection de roues.
Pièces style et apparence de notre catalogue
Rouler plus loin
Personnalisation confort et tourisme
Selles
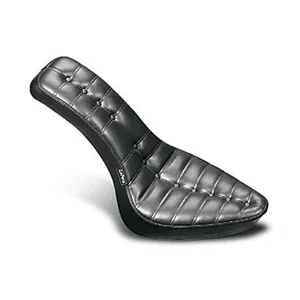
La selle est le point de contact qui fait ou défait une longue étape. Les selles solo apportent l'esthétique dépouillée et allègent la moto, tandis que les selles biplaces sont indispensables pour emmener un passager. Les inserts en gel réduisent les points de pression sur plusieurs heures de route. Les selles solo sur ressorts absorbent les défauts de la chaussée sur les cadres de type hardtail, où il n'y a aucun débattement arrière sur lequel compter. Une sellerie sur mesure — cuir pleine fleur, daim ou skaï surpiqué façon losange — apporte une finition soignée qui rehausse toute la préparation. La hauteur de selle compte aussi : beaucoup de motards rabaissent la selle avant toute autre chose, gagnant en confiance à l'arrêt et abaissant le centre de gravité.
Bagagerie
Les sacoches sont l'ajout tourisme le plus populaire. Les valises rigides protègent le contenu des intempéries et du vol, et se verrouillent à clé — c'est le choix standard sur les modèles Touring et le volume le plus exploitable. Les sacoches souples — sacoches cavalières en cuir ou sacoches textile — sont plus légères, vont bien aux préparations classiques et se déposent souvent sans outil : parfaites pour qui veut des bagages les jours de voyage et une silhouette épurée en ville. Les systèmes de fixation à décrochage rapide permettent de retirer les sacoches en quelques secondes sur un parking. Sacoches de sissy bar, sacoches de réservoir et sacs polochons ajoutent de la capacité sans modification permanente de la moto. Sur les préparations façon adventure, un sac polochon étanche sanglé sur un porte-bagages emporte tout le nécessaire d'un week-end sans le poids ni l'encombrement des valises rigides.
Parcourez selles et bagagerie.
Suspension
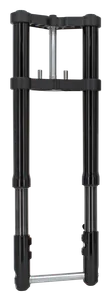
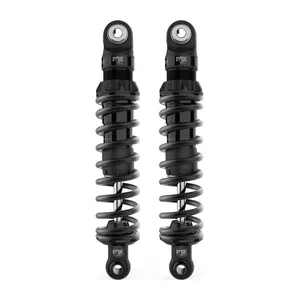
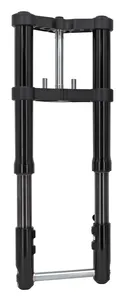
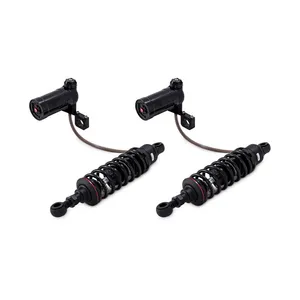
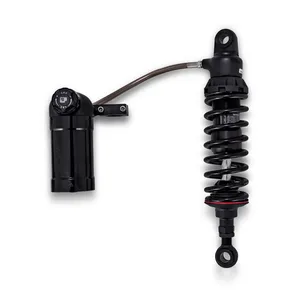
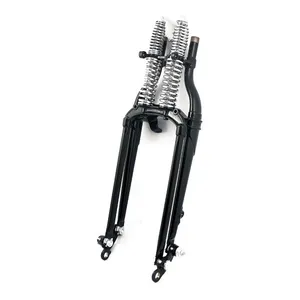
La suspension est l'amélioration confort la plus sous-estimée. La plupart des motards se ruent d'abord sur l'échappement et l'esthétique, alors qu'une suspension correctement réglée transforme la qualité de roulage de n'importe quelle Harley. Les ressorts de fourche progressifs évitent le talonnage au freinage appuyé — un reproche classique sur les Softail et Sportster d'origine. Les amortisseurs arrière réglables permettent d'ajuster la précharge à votre poids et l'amortissement à l'état de la route. Partez des réglages d'usine et progressez par petites touches — un quart de tour à la fois — jusqu'à ce que la moto tienne son cap sans flotter ni taper. Sur une préparation, le choix hardtail ou softail est fondamental : les hardtails sont simples, légers et visuellement purs, mais durs partout ailleurs que sur un bitume lisse. Les Softail dissimulent l'amortisseur arrière pour un rendu rigide tout en offrant un vrai confort de suspension — le meilleur des deux mondes pour un usage quotidien.
Découvrez notre gamme suspension et fourches.
Améliorations ergonomiques
Les bulles et carénages réduisent nettement la fatigue due au vent sur autoroute — même un quart de carénage change les choses à 70 mph. Les bulles hautes conviennent aux voyageurs qui veulent une protection complète, tandis que les saute-vent sport dévient le plus fort du flux sans masquer la vue. Les poignées chauffantes sont quasi indispensables pour rouler en automne et en hiver au Royaume-Uni, où les températures descendent régulièrement sous 10 °C — elles transforment un trajet pénible en trajet agréable.
Les repose-pieds highway permettent d'allonger les jambes dans les longues lignes droites et réduisent les raideurs de hanches et de genoux sur autoroute. La position des commandes au pied façonne toute la posture de conduite : les commandes avancées vont avec la position cruiser détendue, pieds en avant, les commandes centrales sont équilibrées pour un usage mixte et offrent un meilleur levier en manœuvre urbaine, et les commandes reculées replient les genoux pour une conduite sportive et une meilleure garde au sol en courbe. Beaucoup de motards sous-estiment l'influence de la position des pieds sur le confort — si vous vous repositionnez sans cesse ou si vos jambes s'engourdissent, un déplacement des commandes peut être la solution.
Parmi les autres modifications axées confort : les blocs d'accélérateur ou régulateurs de vitesse pour les longues distances, les dosserets pilote qui soulagent le bas du dos, et les leviers de frein et d'embrayage réglables que l'on ajuste à la taille de sa main — de quoi limiter la fatigue des doigts sur les longues étapes. Le principe clé, c'est que le confort est cumulatif : aucune modification ne règle tout à elle seule, mais trois ou quatre améliorations bien choisies font passer votre autonomie confortable d'une heure à une journée entière.
Pièces confort et tourisme de notre catalogue
Visibilité et technologie
Améliorations éclairage et électricité
Conversion LED
Les phares LED modernes sont plus lumineux, durent plus longtemps et consomment nettement moins que les ampoules halogènes montées sur la plupart des Harley d'origine. Un phare rond LED classique de 7" convient aux préparations vintage et bobber tout en améliorant radicalement la visibilité de nuit. Les LED à optique projecteur concentrent le faisceau en une coupure nette et offrent les meilleures performances sur route. Les clignotants LED sont l'autre changement à fort impact — les clignotants en bout de guidon ou les feux arrière à clignotants intégrés dégagent la partie arrière et donnent à la moto une finition aboutie. Les clignotants séquentiels (défilants) apportent une touche résolument moderne à n'importe quelle préparation.
Accessoires électriques
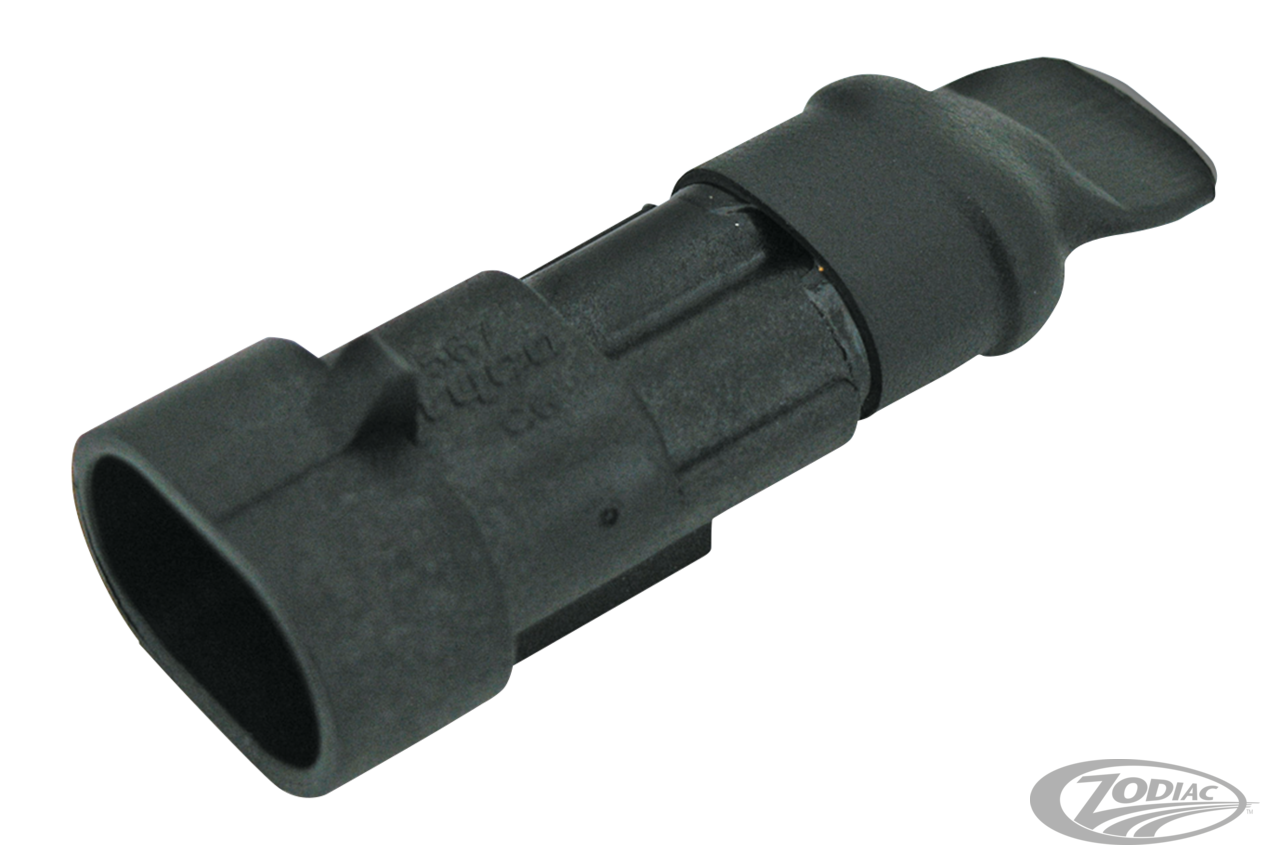
Les prises USB gardent GPS et téléphones alimentés sur les longues étapes. Les feux additionnels améliorent la visibilité sur les routes de campagne peu éclairées. Les alarmes et antidémarrages protègent votre investissement au stationnement. La clé d'accessoires électriques fiables, c'est une installation propre : du câblage de qualité marine et des connecteurs Deutsch étanches évitent la corrosion et les faux contacts qui minent les accessoires mal câblés, surtout sous le climat humide britannique.
Faisceau et batterie
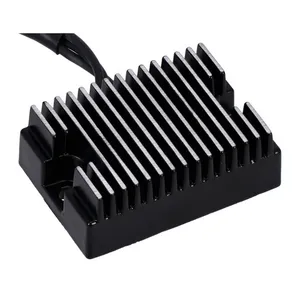
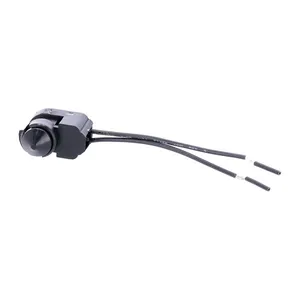
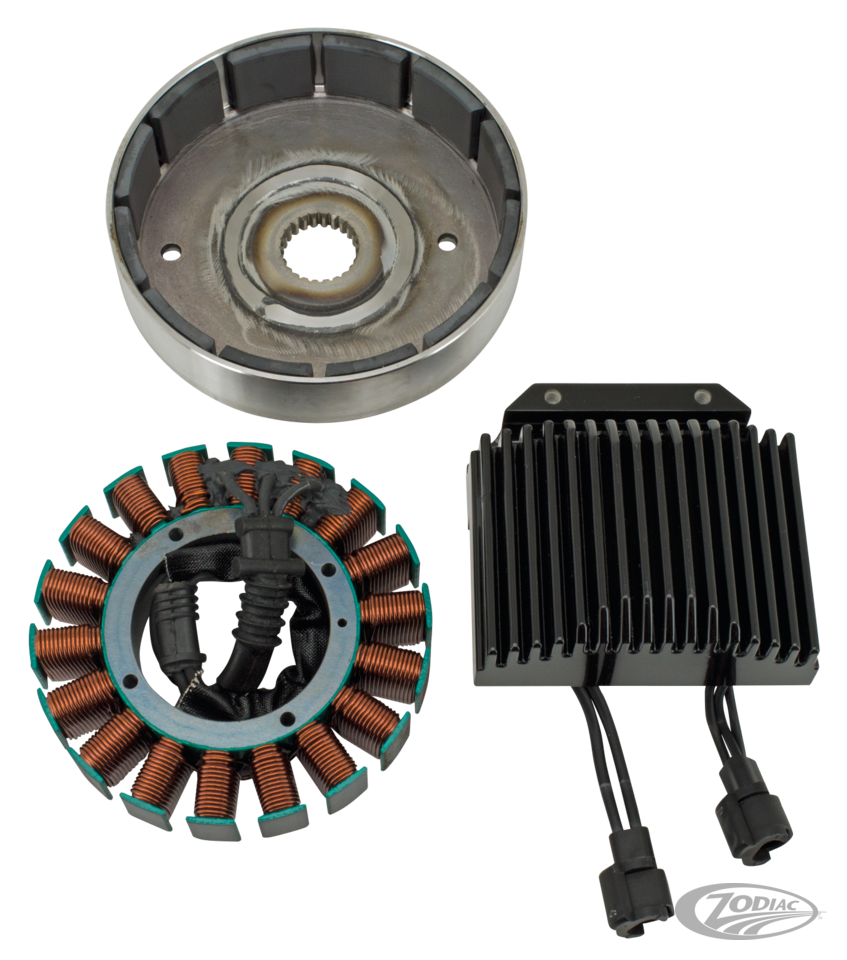
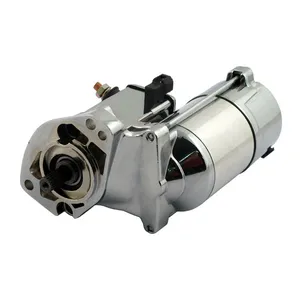
Les motos anciennes, en particulier les Harley d'avant 2000, gagnent souvent à recevoir un faisceau custom simplifié — suppression des circuits inutilisés, cheminement remis au propre, regroupement sur une seule boîte à fusibles. Sur une machine ancienne, le faisceau d'origine peut être un enchevêtrement de connecteurs et d'épissures vieux de plusieurs décennies ; un faisceau neuf et simplifié améliore nettement la fiabilité et rend tout diagnostic ultérieur bien plus simple. Utilisez du câblage de qualité marine prévu pour les vibrations et l'humidité, et systématiquement des connecteurs Deutsch étanches ou des soudures sous gaine thermorétractable — les cosses à sertir bon marché finissent par corroder et lâcher sous le climat britannique. Un multimètre numérique est l'outil électrique le plus important : peu coûteux et indispensable pour diagnostiquer une charge défaillante, tester un circuit et vérifier des connexions. Des schémas électriques en couleur sont indispensables pour tout travail de faisceau — photographiez tout avant de commencer à débrancher.
Sur une préparation où la place est comptée, le choix de la batterie compte. Les batteries lithium-ion sont nettement plus légères et compactes que le plomb-acide classique et libèrent de l'espace dans le cadre pour un rendu épuré — mais elles exigent un système de charge compatible et supportent mal le grand froid. Les batteries AGM sont sans entretien et résistantes aux vibrations — un choix raisonnable pour un usage quotidien, sans avoir à y penser. Les batteries gel sont scellées et sans risque de fuite, donc idéales pour les motos susceptibles de se coucher sur le flanc en journée circuit ou en tout-terrain. Déplacer la batterie sous la selle ou derrière le moteur dégage le triangle de cadre et donne l'esthétique dépouillée que recherchent les préparateurs de bobbers et de choppers.
Découvrez notre gamme éclairage et électricité.
Pièces éclairage et électricité de notre catalogue



Sécurité et contrôle
Protection et freins
Améliorations de freinage
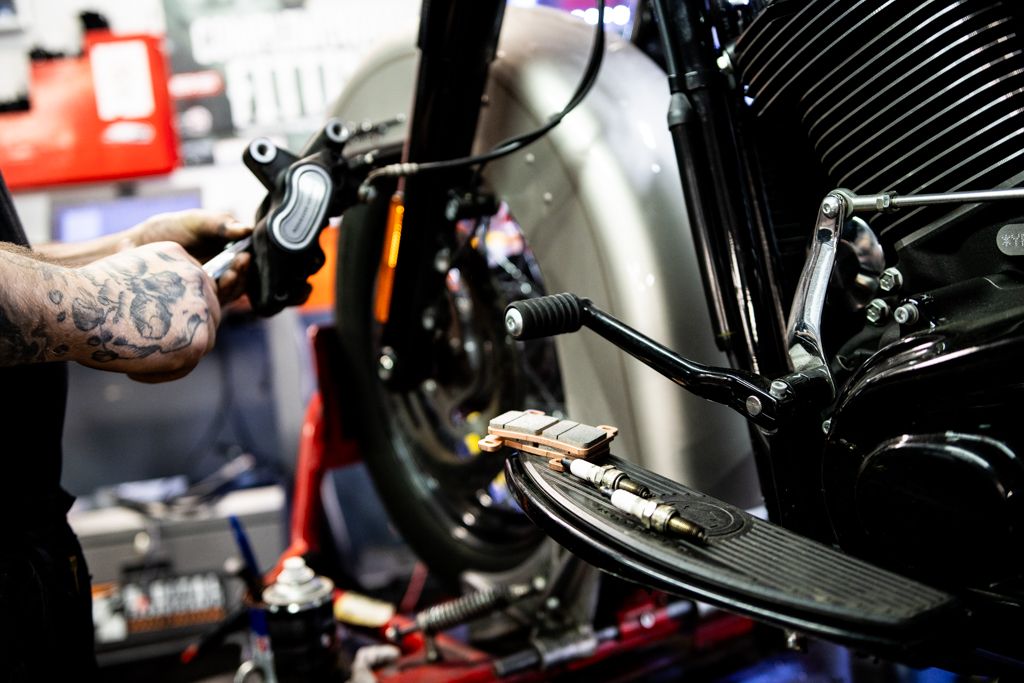
Le freinage est le système de sécurité le plus important d'une moto, et il est fréquemment négligé au profit de modifications plus flatteuses. Si vous avez gagné de la puissance avec un échappement et une admission, vos freins d'origine doivent désormais arrêter une machine qui accélère plus fort. Les plaquettes haute performance sont l'amélioration la plus simple — les plaquettes métal fritté offrent nettement plus de mordant et de résistance à la chaleur que les organiques, surtout sous la pluie. Les durites aviation en inox tressé remplacent les durites caoutchouc d'origine et donnent un levier plus ferme et plus progressif en supprimant la dilatation dont souffrent les durites caoutchouc sous pression. La différence est immédiatement perceptible et la pose est simple.
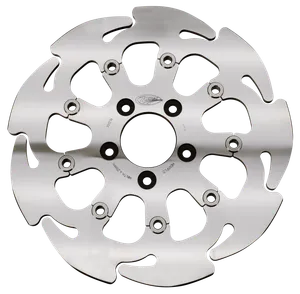
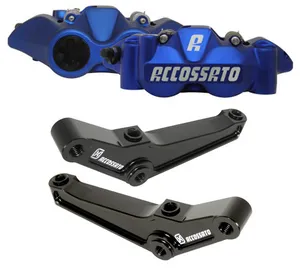
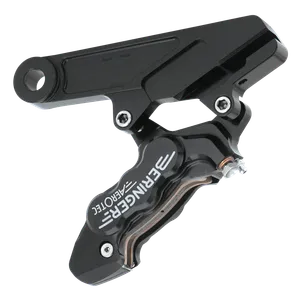
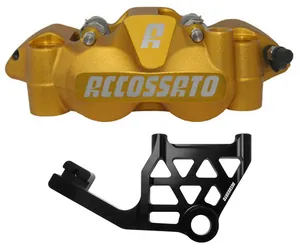
Pour aller plus loin, des disques de plus grand diamètre augmentent le bras de levier et la dissipation thermique — un disque avant de 13" sur un modèle Touring livré d'origine en 11,8" transforme le freinage appuyé. Des étriers assortis à plus grand nombre de pistons répartissent la pression de serrage plus uniformément sur la surface de plaquette. Purgez toujours soigneusement le liquide de frein après toute intervention sur une durite ou un étrier, et utilisez un DOT 4 ou DOT 5.1 supportant les hautes températures. Les modèles Harley-Davidson Touring et Softail à partir de 2008 utilisent un freinage couplé — sachez qu'une modification aftermarket à une extrémité peut modifier le ressenti à l'autre.
Pare-cylindres et protections
Les pare-cylindres (crash bars) protègent les carters moteur et le cadre lors d'une chute à basse vitesse — et tout le monde finit par poser sa moto, sur un parking, dans une station-service ou sur du gravier. Sur une machine avec £2 000 et plus de peinture custom et des caches moteur polis, un pare-cylindre à £150 est une assurance bon marché. Les pare-jambes font double emploi : protection des jambes et point de fixation pour des repose-pieds highway. Sur une préparation tout-chemin ou scrambler, un sabot moteur protège le bas du moteur des pierres et des projections. Patins de cadre et protections d'axe offrent une protection discrète sans casser les lignes de la moto.
Parcourez nos améliorations freinage.
Pièces freinage et protection de notre catalogue



Conseils pratiques
Comment commencer à personnaliser votre moto
Planifiez avant d'acheter
Avant de dépenser la moindre livre, constituez un moodboard. Rassemblez des photos glanées sur Instagram, dans les magazines moto et dans les books de préparateurs. Définissez l'allure et l'ambiance que vous visez — bobber, bagger, café racer ou quelque chose de totalement personnel. Une heure de recherche avant d'attaquer un chantier vous économisera cinq heures de retour en arrière. Sachez quel style vous voulez, et chaque décision d'achat devient plus simple.
L'outillage indispensable
Vous n'avez pas besoin d'un atelier professionnel pour commencer à personnaliser. Une caisse à outils de base vous permet de mener la plupart des chantiers en bolt-on : un jeu de douilles et des clés mixtes (en pouces pour les motos américaines, métriques pour les japonaises et européennes), une clé dynamométrique (indispensable sur le moteur et les roues — ne devinez jamais un couple de serrage), des clés Allen, des tournevis, des pinces et un multimètre numérique pour tout ce qui touche à l'électricité. Un lève-moto ou une béquille centrale rend le travail sur les roues et la suspension bien plus facile. En progressant, une barre de force pour les fixations récalcitrantes, du frein-filet Loctite, de la pâte antigrippante et un jeu de tarauds et filières pour réparer les filets abîmés gagneront leur place dans votre garage. Portez toujours des lunettes de protection lorsque vous meulez ou percez, et gardez un extincteur à portée de main si vous travaillez près du circuit d'essence.
Coûts indicatifs
Les attentes budgétaires varient énormément selon l'ambition, mais voici des fourchettes de prix réalistes au Royaume-Uni pour les modifications courantes. Poignées, rétroviseurs et leviers : £30–£150. Silencieux slip-on : £200–£600. Ligne d'échappement complète : £400–£1 500. Kit d'admission d'air : £80–£300. Selle : £150–£500. Suspension (ressorts de fourche + amortisseurs arrière) : £300–£1 200. Guidon + kit de câbles : £150–£500. Conversion phare LED : £60–£250. Peinture custom : £500–£2 000 et plus selon la complexité. Plaquettes + durites aviation : £80–£250. Ce sont uniquement les coûts de pièces — ajoutez le temps de main-d'œuvre si vous passez par un atelier, et n'oubliez pas cette réserve budgétaire de 20–30 %.
Commencez par des modifications en bolt-on
Poignées, rétroviseurs, leviers, une nouvelle selle et un silencieux slip-on — c'est réversible, abordable, et l'effet visuel comme fonctionnel est immédiat. C'est aussi un excellent moyen de prendre confiance en mécanique sans rien risquer de critique. Ne commencez pas par l'intérieur du moteur ou par des modifications de cadre : il faut d'abord y gagner ses galons.
Avancez par étapes
Gardez la moto roulante entre deux modifications. Les démontages intégraux qui immobilisent la machine deux ans ou plus, c'est ainsi que les projets finissent abandonnés au fond d'un garage — il y a plus de préparations à moitié terminées dans les remises britanniques que de motos finies sur la route. L'approche incrémentale vous garde en selle et motivé — et vous laisse ressentir chaque amélioration individuellement, pour savoir ce qui change vraiment les choses et ce qui semblait bien sur le papier sans rien transformer.
Un ordre de montage sensé pour la plupart des motards : commencer par les points de contact (poignées, selle, repose-pieds), puis le son et la puissance (échappement, filtre à air, reprogrammation), ensuite l'identité visuelle (peinture, guidon, garde-boue), et enfin le travail mécanique en profondeur (suspension, roues, intérieur moteur). Vous roulez ainsi dès le premier mois sur une moto confortable et bien sonnante, pendant que les gros chantiers prennent forme au fil du temps.
Prévoyez 20–30 % de marge
Boulons arrachés, problèmes de compatibilité inattendus et dérive du type « tant que j'y suis » sont la règle, pas l'exception. Tout préparateur expérimenté vous dira la même chose : votre budget initial est un point de départ, pas un plafond. Si vous prévoyez £2 000 pour une préparation Stage 1, gardez £500 de côté pour le joint d'échappement qui s'effrite au démontage, le kit de câbles dont vous n'aviez pas prévu le besoin et le thermolaquage que vous décidez d'ajouter une fois le cadre déjà nu. Anticipez les dépassements et vous ne serez jamais pris de court.
Conservez vos pièces d'origine
Stockez chaque pièce d'origine que vous déposez. Vous pourriez en avoir besoin pour la valeur de revente, pour la conformité au MOT, ou simplement parce qu'une modification ne va pas aussi bien à la moto que vous l'imaginiez. Des pièces d'origine rangées avec soin dans des sachets étiquetés ne coûtent rien à conserver et évitent des rachats coûteux plus tard.
Connaissez vos limites
Les vis d'échappement, les poignées et les selles relèvent du bricolage. La soudure de cadre, l'usinage moteur et les modifications de géométrie de suspension sont des métiers — et savoir confier une tâche à un mécanicien qualifié n'est pas une faiblesse, c'est du bon sens. Une soudure de cadre bâclée est un problème de sécurité ; une réparation professionnelle est un investissement.
MOT et cadre légal au Royaume-Uni
Chaque modification que vous réalisez doit passer le MOT si vous voulez rouler sur route. Les exigences clés : les échappements doivent respecter les limites sonores — les straight pipes sont recalés, et même un échappement aftermarket doit porter un marquage BSAU ou une homologation TÜV/ECE. Les phares doivent disposer des feux de route et de croisement et être correctement réglés. Les clignotants sont obligatoires sur les motos immatriculées pour la première fois après le 1er août 1986. Les pneus doivent être homologués DOT ou ECE et en état routier — la profondeur de sculpture minimale légale pour une moto est de 1 mm sur les trois quarts de la largeur de la bande de roulement.
Les modifications de cadre importantes — allongement, ouverture de l'angle de chasse ou passage en hardtail — peuvent exiger un rapport d'ingénieur pour la réimmatriculation auprès de la DVLA. Si vous changez entièrement de cadre, la moto peut être classée en Special Construction (SPCN) ou véhicule sous plaque Q. Conservez factures et photos de chaque modification — cela vous protège au MOT, simplifie les déclarations d'assurance et fournit la traçabilité si vous revendez un jour la moto. À propos d'assurance : déclarez chaque modification à votre assureur. Des modifications non déclarées peuvent annuler purement et simplement votre contrat et vous laisser sans couverture en cas de sinistre.
Entretenir votre moto personnalisée
Les pièces custom demandent autant d'attention que les pièces d'origine. Après toute modification, resserrez toutes les fixations au couple après les 100–200 premiers miles — les vibrations mettent les pièces neuves en place et les boulons peuvent se desserrer. Utilisez du frein-filet Loctite sur les zones très sollicitées comme les supports d'échappement, les repose-pieds et les tiges de rétroviseur. Inspectez régulièrement l'éclairage custom pour vérifier que les connexions restent serrées et exemptes de corrosion. Si vous avez entouré vos collecteurs de bande thermique, contrôlez de temps à autre l'humidité piégée dessous — elle accélère la rouille sur les collecteurs en acier ordinaire. Nettoyez la peinture custom et le chrome avec des produits spécifiques moto ; les nettoyants ménagers peuvent abîmer les vernis, les traitements céramique et les coverings vinyle.
Trouver les bonnes pièces
Utilisez notre recherche de pièces pour chercher par année, modèle et famille — et vérifier la compatibilité avant d'acheter. Et si vous construisez sur la durée, l'adhésion Iron Pass débloque des tarifs exclusifs sur toute la boutique et vous fait économiser sur chaque commande.
Votre projet commence ici
Lancez votre préparation
Votre Harley vous attend. Parcourez plus de 106 330 pièces issues de 399 marques — avec les tarifs Iron Pass et la livraison gratuite au Royaume-Uni à partir de £100.