Start here
What “Stage 1” Actually Means
To plan your intake and exhaust changes by bike, browse Harley-Davidson models for customisation.
Stage 1 brings together a high-flow air cleaner, an exhaust upgrade and the appropriate engine calibration. In Harley-Davidson’s Screamin’ Eagle stage guide, it is the starting point before camshaft or engine-capacity changes. This is work around the existing engine; a Stage IV big-bore kit is a different project.
Think about the whole combination before buying the first part. The air cleaner changes the intake path, the exhaust changes the outlet system, and the calibration accounts for the fitted specification. An intake kit sold as “Stage 1” may be only one part of that package. Check what is already on your bike so you can identify what needs changing and what can stay.
Choose a useful goal: response when rolling on to overtake, a particular intake shape, or an exhaust arrangement you enjoy on longer rides. Then compare compatible combinations against that goal. The stage name alone tells you neither the horsepower gain nor whether a part is approved for your motorcycle on UK roads.
Part one
The Air Cleaner
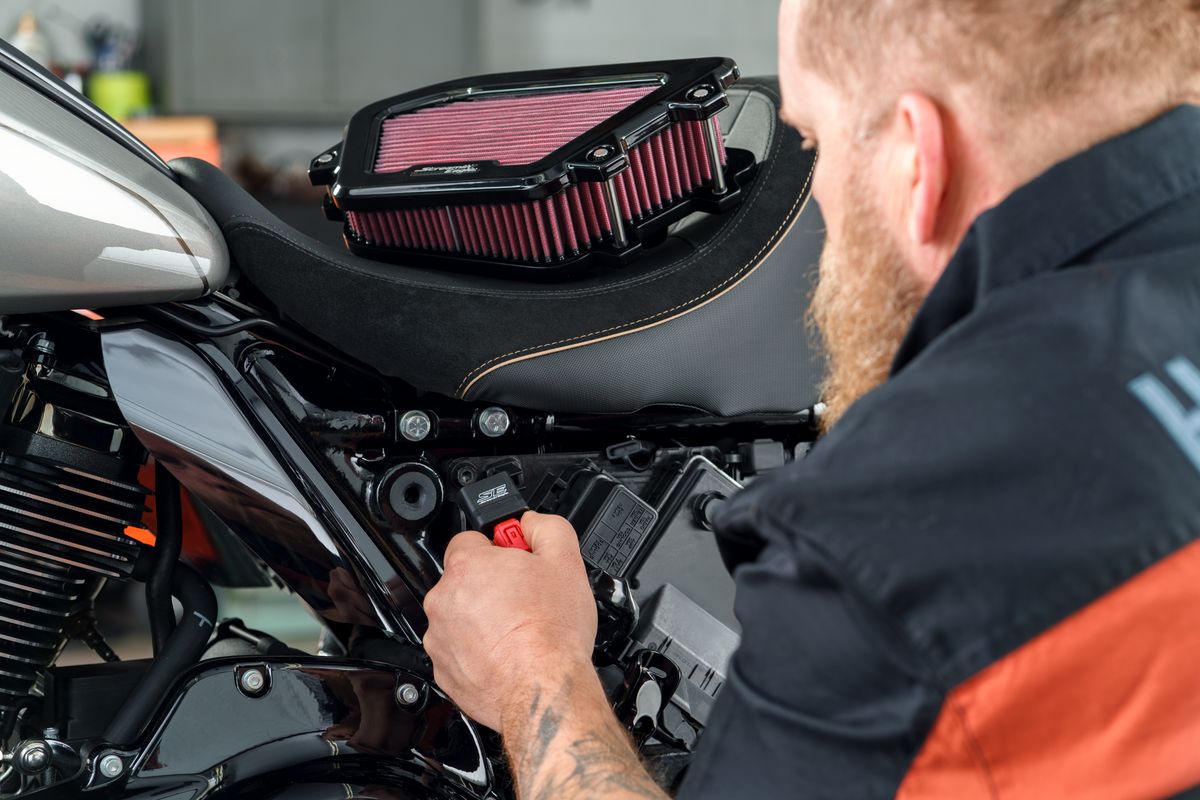
An air-cleaner choice changes both the intake and the view of the engine. Some kits retain a familiar cover; others expose the filter or place it on an extended intake. Compare the complete installed assembly, rather than the size of the visible filter alone. A replacement element, a decorative cover and a complete intake kit are different purchases.
Look at how the backing plate and breather arrangement fit your engine, which cover is included, and how you reach the filter for servicing. A washable element can be useful for ongoing maintenance, but its cleaning and oiling instructions belong to that exact filter. Add any separately required cover, rain protection or fitting kit to the comparison before deciding that one intake costs less than another.
Make room for the rider
Check your seated knee position and movement to the rear brake or footboard, together with fairing lowers and other fitted accessories. Do this on Softails as well as Touring bikes; the family name cannot establish your personal clearance. For example, H-D describes the Vortex Extreme as shaped with fairing-lower legroom in mind. The film and detailed explanation below show its design, finish choices and kit contents.
Start with air intake parts and use the Part Finder to narrow the catalogue for your bike. Confirm the chosen part’s fitment and installation requirements, including calibration, before ordering.
Part two
The Exhaust
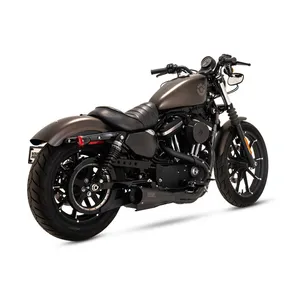
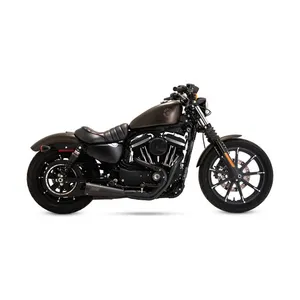
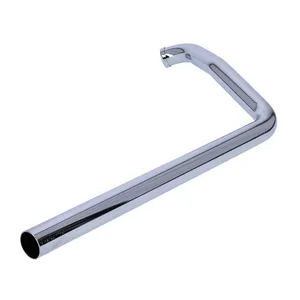
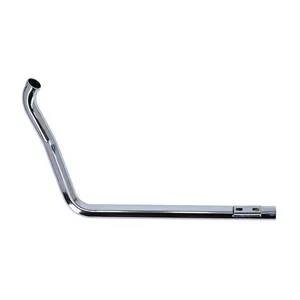
Decide how much of the existing exhaust you want to replace. Keep the installed headers, silencers and any previous modifications on your parts list: a muffler described for “stock headers” is not automatically compatible with an aftermarket set already on the bike. Appearance, sound, packaging and tuning support all belong in this decision.
Slip-ons: retain the header arrangement
Slip-ons replace the silencers and connect to the retained headers. They can suit a rider who likes the existing pipe routing and heat shields. Compare inlet fit, mounting brackets, end-cap shape and clearance around luggage. Check where the catalyst sits on your exact system: retaining the headers does not, by itself, establish that every emissions component stays.
Full systems: choose the complete layout
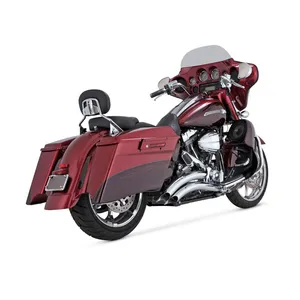
A full system replaces the headers as well. A 2-into-1 joins the two cylinders into a common outlet; a 2-into-2 uses two outlets. Neither label predicts the complete torque curve. Compare evidence for the exact system and engine, then check oxygen-sensor provision, mounting hardware, heat shields, luggage and control clearance. Agree the calibration and fitting requirements at the same time as the exhaust.
Road use and the MOT
For Great Britain, the DVSA motorcycle MOT manual assesses exhaust noise against a similar motorcycle with a standard silencer in average condition. Excessive noise is a major defect. Its exhaust-system checks also cover major leaks, insecurity and silencers marked for track use only.
Road-use rules extend beyond the test. GOV.UK’s vehicle-noise guidance states that modifying an exhaust to make a type-approved vehicle noisier is illegal. Ask for the exact part’s approval documents and installation conditions, including required catalysts and baffles. A brand name, a removable baffle or a US emissions label is not enough to establish UK approval.




Part three
The ECM Tune
The Engine Control Module, or ECM, uses its calibration to manage the engine. When the intake and exhaust are upgraded together, H-D’s Stage I guidance requires recalibration. Include that work in the plan from the start. For a single replacement part, follow its own instructions rather than applying the same rule to every filter or silencer.
Choose the calibration route before the hardware
A supported base calibration may cover your exact combination; other combinations need individual tuning. Ask the supplier or tuner to confirm your model year, engine specification, intake and full exhaust arrangement. Then establish which device, licence, cables, phone or computer are required, and whether the price includes the calibration work. A compatible diagnostic plug alone does not prove that a tuner supports the bike.
Base maps, measured tuning and autotune
A base map is prepared for a stated configuration. Individual tuning uses measurements from your bike to develop or refine the calibration; a dyno provides a controlled way to apply load and compare the result. Ask what will be checked at cruise, during throttle changes and under load, rather than judging the work only by its peak power figure.
Autotune also needs a defined process. Dynojet’s Power Vision 4 guide distinguishes systems using the original narrowband oxygen sensors from options requiring additional wideband hardware. The modes are not interchangeable. Follow the instructions for the fitted equipment and agree how the finished tune will be validated; an “autotune” label does not describe an identical feature across brands or generations.
Explore Screamin’ Eagle tuning and performance parts or Dynojet’s Power Vision range. Check the exact application before choosing a device.
Plan the result
What to Realistically Expect
Useful response, with evidence for the combination
Look for before-and-after results from the same engine specification, intake, exhaust and calibration you are considering. Read the torque curve across the rev range you use, as well as peak horsepower. Check whether figures are measured at the rear wheel or quoted at the engine and whether the testing conditions are comparable. Without that context, a promised Stage 1 gain is too broad to guide a purchase.
Budget for the finished job
Build an itemised total from current prices: the complete intake, the chosen exhaust, calibration or tuner, licences and cables, then fitting parts and labour. Ask whether gaskets, clamps, heat shields and any required catalyst are included. Add shipping and confirm VAT and the scope of any dyno work. That gives you a usable fitted price for your motorcycle.
Compare two specifications on equal terms: one retaining compatible headers, and one replacing the complete system. If parts are already fitted, ask what can be retained and whether the existing tuner supports the revised configuration. Buying a device twice or discovering a missing fitting kit changes the budget more than a small discount on the headline part.
Fuel use and everyday riding
Do not budget on a guaranteed fuel saving or temperature reduction. Record how the bike runs before the work and compare fuel use on similar journeys afterwards. Think about the result at motorway cruise as well as a short acceleration: intake noise, exhaust sound and knee clearance are things you live with throughout the ride. Resolve existing running faults before treating an upgrade as their solution.
Confirm warranty coverage before ordering
Ask the H-D dealer or warranty provider to assess the proposed part numbers, calibration and installation against your bike’s actual warranty. Get the answer in writing, including which components are covered and under which agreement. Motorcycle cover, a parts warranty and an extended plan are separate questions. H-D’s UK warranty-services page is a starting point for the available cover and dealer contact; it is not approval of a particular Stage 1 combination.
By platform
Model-by-Model Notes
Milwaukee-Eight Touring
Start with the exact year and model, including any CVO or ST designation. Engine capacity alone is not a parts specification. Fairing lowers, footboards, luggage and the existing exhaust affect the physical choice; the ECM generation affects tuning support. For example, Dynojet lists a separate Gen 2 application for selected newer Touring models. Check its model-level table rather than reading “Milwaukee-Eight” as universal compatibility.
Milwaukee-Eight Softail
Apply the same checks to your Fat Boy, Heritage, Low Rider, Breakout or Street Bob. Record any non-standard intake, exhaust and controls before choosing the kit. Dynojet’s newer application also names selected 2025 Softails, which is a useful reminder that a tuner used on an earlier bike may not carry over. Check intake clearance in your own riding position.
Evolution Sportster: 883 and 1200
Identify whether the bike has a carburettor or electronic fuel injection. The fuelling work differs, and so can the intake mounting requirements. S&S’s Sportster intake instructions distinguish the stock CV-carburettor and EFI applications. Use the actual model year and fitted fuel system to choose parts. An XL1200 Nightster is also a different application from the later Revolution Max Nightster.
Revolution Max: Sportster S, Nightster and Pan America
Treat each of these as its own application. Do not transfer a Milwaukee-Eight intake or tuner recommendation to it. Current Vance & Hines FP4 fitment, for example, assigns a specific part number to listed Pan America years. That does not establish support for every Revolution Max model. Check the exact hardware, software and calibration available for your bike.
Twin Cam
Record the engine capacity, model year, fuel system and any existing engine work. On a carburetted bike, mixture setup is a carburettor task; on an injected bike, check the appropriate electronic tuning route. A used bike may already have an intake, cams or a changed engine, so a registration-year match needs to be checked against the specification actually fitted.
Use the Part Finder to narrow your search, or browse parts organised by Harley-Davidson model. The brand products below are browsing options; they are not a pre-matched Stage 1 kit for a selected motorcycle.




Harley-Davidson
Vortex Extreme: watch, read and choose a finish
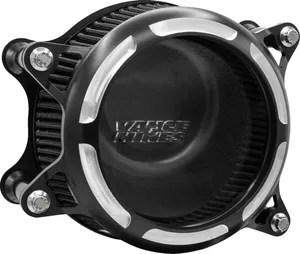
Watch Harley-Davidson’s complete Vortex Extreme film, or read the explanation and compare chrome with black. This is an intake example for specified Milwaukee-Eight models; the air-cleaner kit does not include an exhaust or tuner.
An air cleaner, up close
See the shape, protection and supplied components of one specific intake. The available finish choices below lead to their exact product pages.
Vortex Extreme: airflow, clearance and kit contents
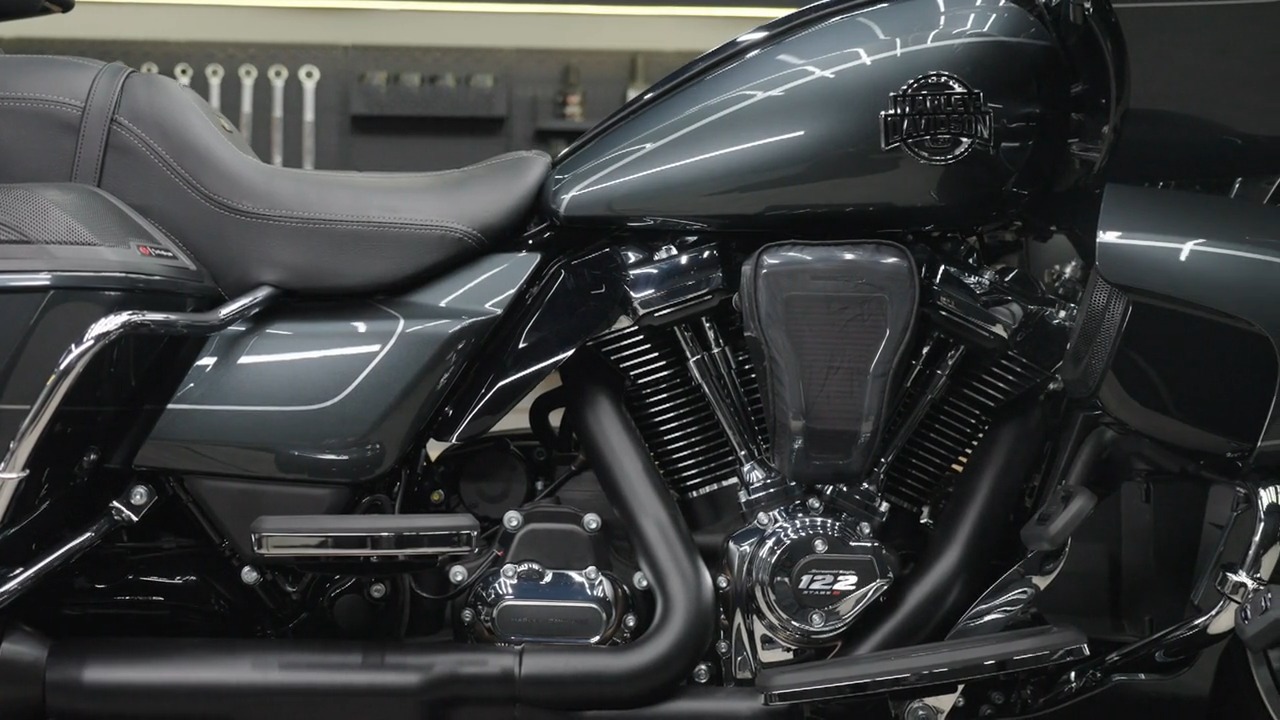
The Screamin’ Eagle Vortex Extreme combines an exposed air-cleaner design with space for your knee. Harley-Davidson describes freer, less obstructed airflow to the Milwaukee-Eight engine and increased power across the rev range; it gives no measured gain for your particular motorcycle. The shape was developed especially for bikes with fairing lowers, allowing knee movement when using the rear brake and footboard. It also leaves all four pushrods visible, so the intake changes the appearance as well as the space beside the engine.
The complete kit contains the backing plate, air-filter element, cover, rain sock and necessary mounting hardware. The supplied rain sock helps keep water, dust and debris away from the filter; it is an extra protective layer, not a waterproof enclosure. Choose chrome with 29400527 or black with 29400528. The product links below identify the finish as well as the part number.
The exact listings specify 2025-on Softail, 2023-on Touring and 2026-on Trike models with centre-cooled Milwaukee-Eight engines, excluding California models. Installation requires ECM calibration using the Screamin’ Eagle Pro Street Tuner. Check the exact motorcycle and installation requirements on the matching listing: an all-years category does not establish fitment for every year. The film’s 49-state US compliance statement does not establish UK or European road-use approval.
Products in this film
Put the intake in context
Start with the exact bike
Record the model, year, engine and existing modifications before choosing parts. A shared Milwaukee-Eight name does not make every intake, exhaust or tuner interchangeable.
Include the calibration
The Vortex listings require ECM calibration using the Screamin’ Eagle Pro Street Tuner. Confirm the compatible tuner and calibration for your complete combination before arranging installation; they are separate from the air-cleaner kit.
Check the intended use
The film’s US compliance statement is not UK or European approval. Check the exact part, motorcycle and market requirements before choosing an intake and exhaust for road use.
Common questions
Frequently Asked Questions
Does a Stage 1 upgrade affect my Harley-Davidson warranty?
Check the warranty that applies to your motorcycle and country before ordering. Ask the H-D dealer or warranty provider to confirm the proposed part numbers, calibration, installer and resulting coverage in writing. A parts warranty, the motorcycle warranty and an extended plan are different agreements. A Screamin’ Eagle badge or dealer installation should not be treated as an automatic guarantee of cover for the whole upgrade.
Will a Stage 1 Harley pass its MOT?
The Stage 1 label does not decide the result. The DVSA motorcycle manual for Great Britain assesses noise against a similar motorcycle with a standard silencer in average condition. Excessive noise is a major defect, as are major exhaust leaks and silencers marked for track use only. Road-use requirements also apply outside the test: a previous MOT pass does not establish that a particular modified setup is lawful. Check the exact exhaust and its required components before buying.
Do I need to retune after fitting an intake and exhaust?
Plan the calibration with the parts. Harley-Davidson’s Stage I guidance requires ECM recalibration when upgrading the intake and exhaust together. For a single replacement component, follow its specific instructions: a replacement filter, an approved slip-on and a complete high-flow intake are different changes. Confirm support for the exact engine, model year and fitted components before installation, rather than assuming the standard ECU will adapt to everything.
Slip-on mufflers or a full exhaust system for Stage 1?
Slip-ons replace the silencers while retaining the existing headers; a full system replaces the headers too. Start with compatible slip-ons if you want to keep the current header arrangement. Consider a full system when its complete design, routing and supported calibration suit your project. Check the actual catalyst location, sensor provision, heat shields and approval documents. Neither layout guarantees a particular gain, catalyst retention or UK road approval.
How much does a Stage 1 upgrade cost in the UK?
Price a complete specification for your bike: intake kit, exhaust, calibration or tuner, any licence and cables, required fitting parts, labour and validation. Ask whether VAT, shipping and any dyno work are included. Compare two written totals using the same parts and work scope. A generic parts-only range is not a reliable fitted quote, and a tuner purchase does not necessarily include a custom tune.
Will Stage 1 improve fuel economy or make the engine cooler?
Neither is a guaranteed result. Fuel use and operating temperature depend on the calibration, riding conditions, load and how you use the throttle. If range matters, record comparable brim-to-brim fuel use before and after the work. Treat persistent running problems as something to diagnose; fitting performance parts is not a substitute for repairing a fault.
What is included in a Harley Stage 1 kit?
Stage 1 describes an intake, exhaust and tuning package, but an individual product with Stage 1 in its name may contain only an air-cleaner kit. Read the contents for each part number. Confirm the filter, backing plate, cover, rain protection and mounting hardware, then account separately for any exhaust, calibration, tuner and labour. Camshaft and big-bore work goes beyond this guide.
Screamin’ Eagle or aftermarket parts for Stage 1?
Compare complete supported combinations. Screamin’ Eagle offers the H-D performance range; aftermarket brands offer other designs and tuning approaches. The useful comparison is exact fitment, UK road-use documentation, calibration support, clearance, service parts and the total fitted price. Mixing brands can be an option when the combination is supported, but a shared engine-family label is not enough to establish that.
How do I choose an air cleaner for a Milwaukee-Eight?
Start with the exact model, year and existing intake. Compare the installed shape and knee clearance, especially with fairing lowers, then check complete kit contents, filter care and calibration requirements. A filter hidden behind a cover and an exposed intake offer different looks and access. The Vortex Extreme film on this page explains one specific design; its fitment must still be checked for your bike.
What do closed-loop, open-loop and autotune mean?
Closed-loop fuelling uses oxygen-sensor feedback to correct fuelling towards a target. Open-loop operation relies on the calibration without that same correction. The active areas depend on the ECU and tune, so a simple light-throttle/full-throttle rule does not describe every Harley. Autotune is a product-specific process with sensor, hardware and operating limits; follow the tuner instructions and confirm how the finished calibration will be checked.