Start here
Service Intervals & the UK Reality
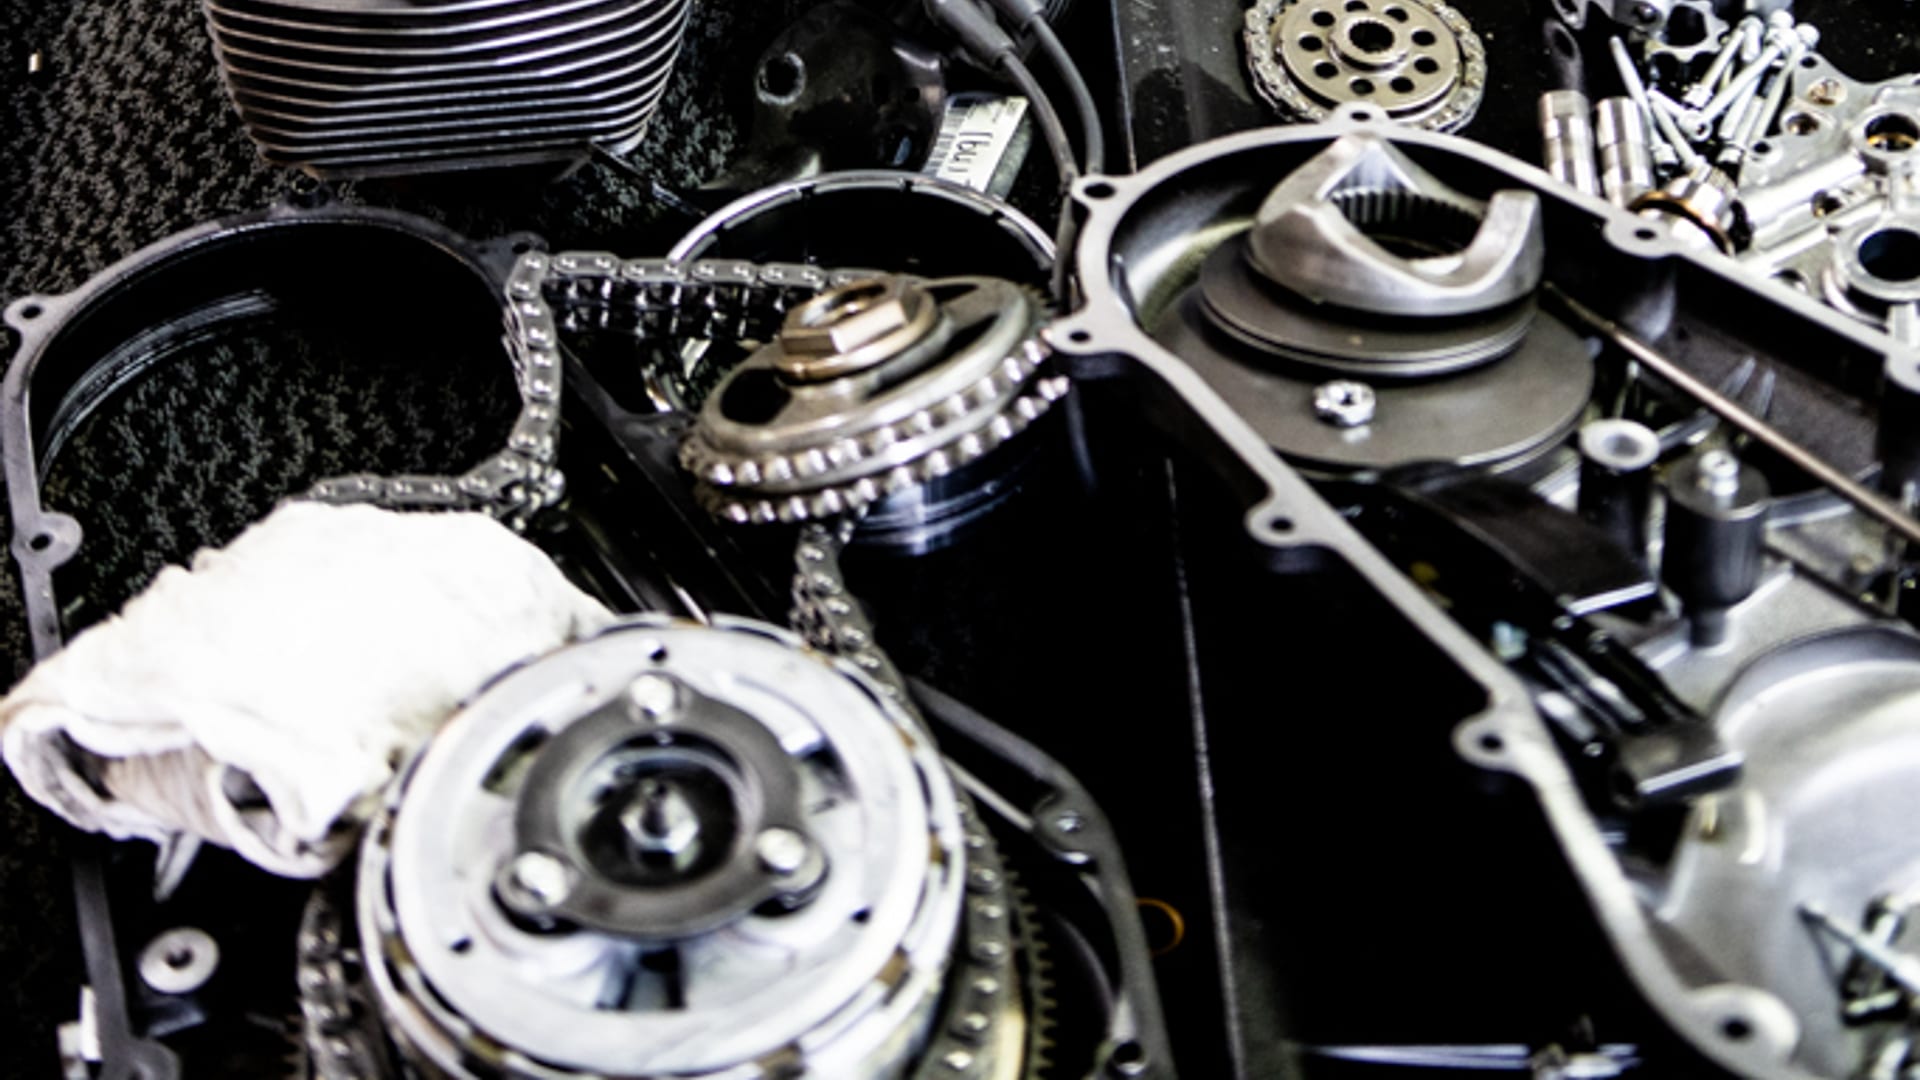
Start with the model, year and engine, then gather the last service date, mileage and records of any modifications. This guide helps you plan work and find parts; the motorcycle’s own maintenance table supplies the intervals and procedures. A Touring, Evolution Sportster and Revolution Max machine should not share one generic checklist.
Read the schedule by task
H-D’s maintenance guidance describes an initial 1,000-mile service and subsequent 5,000-mile service points. The model table distinguishes inspection, adjustment and replacement, with separate notes for time limits and severe use. An inspection at 10,000 miles does not necessarily mean replacing that component.
Find the owner’s manual for your exact motorcycle in the H-D Service Information Portal. Work through engine oil and filter, primary and transmission lubricant, brake fluid, air filter, plugs, tyres, belt or chain, chassis and electrical checks as separate entries. Add cooling-system maintenance wherever the model has it. Keep invoices and a record of the specification, quantity, date and mileage for each job.
Low mileage and winter storage
Where the schedule says annually or at a stated mileage, use whichever arrives first. Short journeys, cold weather, dust and heavy use can call for extra attention under the manual’s severe-service guidance. Low annual mileage does not remove time-based work. Plan storage preparation and recommissioning alongside the service, including battery care, tyres and checks for leaks or corrosion.
The MOT has a different purpose
The motorcycle MOT inspection checks specified roadworthiness items. It does not replace scheduled lubrication, filter or internal service work, and a pass is not a guarantee that a fault cannot develop afterwards. Use both the inspection result and your maintenance records when deciding what needs doing.
Choose the correct specification
Fluids: Engine, Primary, Transmission, Brake & Fork
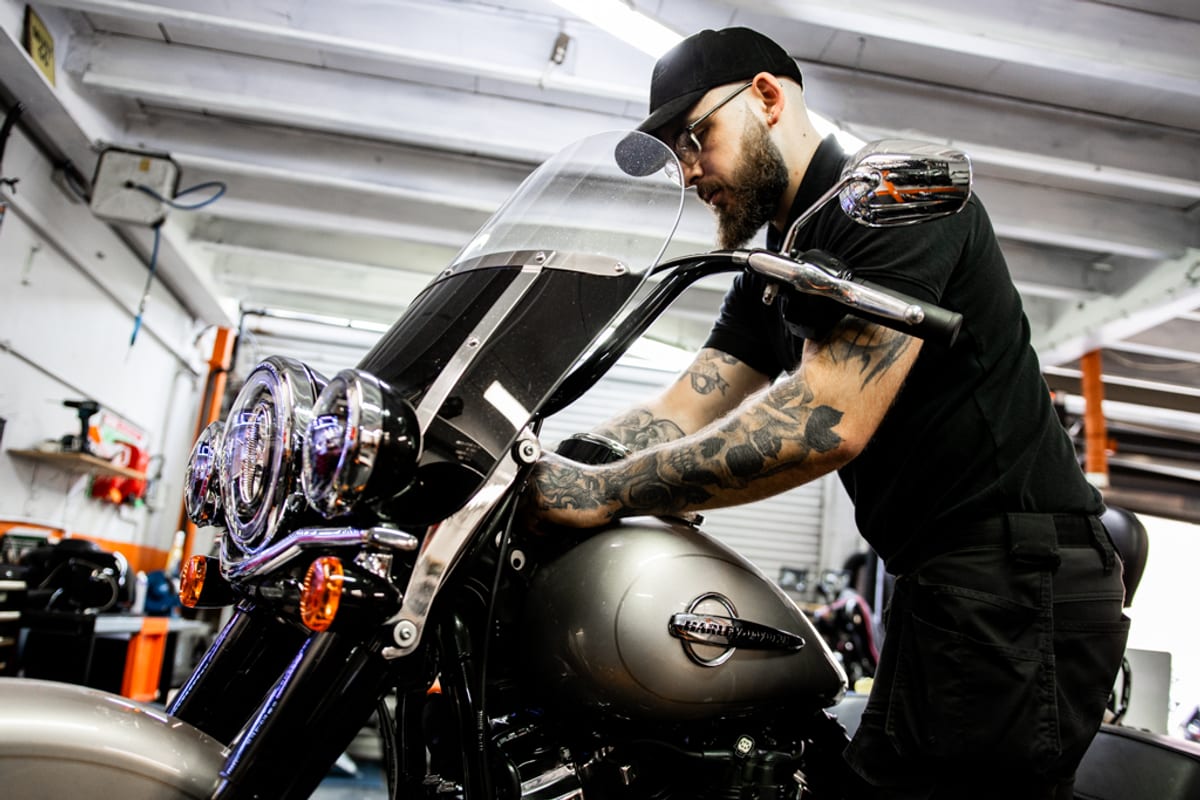
Identify the compartment before choosing the bottle. Twin Cam and Milwaukee-Eight Big Twins have separate engine, primary and transmission lubricant compartments. On an Evolution Sportster, the engine oil is separate; the primary and transmission share lubricant. H-D’s Sportster transmission procedure shows that shared primary/transmission fill. Revolution Max models need their own instructions.
Engine oil
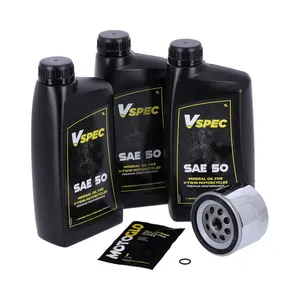
Use the viscosity and lubricant specification approved for your motorcycle and ambient temperatures. Check both the refill quantity and the level-checking procedure: hot or cold, upright or on the stand, and dipstick position can matter. A nominal capacity is not permission to pour that amount into a partly drained system. The H-D oil guide explains oil and filter service; your exact manual takes precedence over a general example.
Primary chaincase fluid
The primary contains the drive to the clutch and, on the relevant models, the primary chain. Choose a lubricant approved for those components and the wet clutch. Formula+ is a transmission and primary chaincase lubricant; SYN3 is also approved for specified applications. Separate compartments can use the same approved product without sharing their oil. Use the correct level, seals, fastener procedure and service interval for this motorcycle.
Transmission lubricant and SYN3
SYN3 is not 75W-140 gear oil. The earlier SYN3 was 20W-50. H-D’s current SYN3 guidance describes the new 15W-50/SAE 50 formula and its compatibility with motorcycles specifying 20W-50. Read the actual bottle and application approval before buying. Do not assume that an unrelated gear oil of a different grade is an equivalent, or that the gearbox follows the engine’s change interval.
Brake fluid
Check the reservoir marking and manual for the required fluid. Many H-D DOT 4 schedules call for moisture checks and a flush every two years, or sooner at the specified moisture limit. Older DOT 5 silicone systems require their own instructions; DOT 4 and DOT 5 must not be mixed. Keep fluid off painted surfaces and friction components. Bleeding is a model-specific brake-system operation, and ABS work can require diagnostic equipment. The service manual determines the sequence and equipment, not a universal front-then-rear recipe.
Fork oil and coolant
Fork fluid type, quantity or air gap, and service interval depend on the fork assembly, including any aftermarket cartridges. Use that assembly’s instructions rather than a generic 5W or 10W recommendation. For liquid-cooled engines or cylinder heads, also check the specified coolant and cooling-system schedule. Leaks or a change in suspension behaviour need investigation; fluid colour alone does not diagnose the cause.
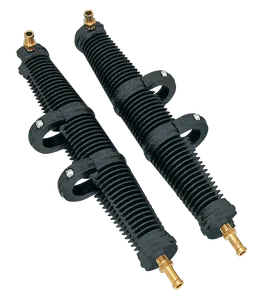
Browse oils and chemicals, or oil, filters and coolers. The Part Finder helps identify parts for the bike; use the manual for capacities and service settings.


Filters & ignition
Air Filter, Oil Filter, Spark Plugs
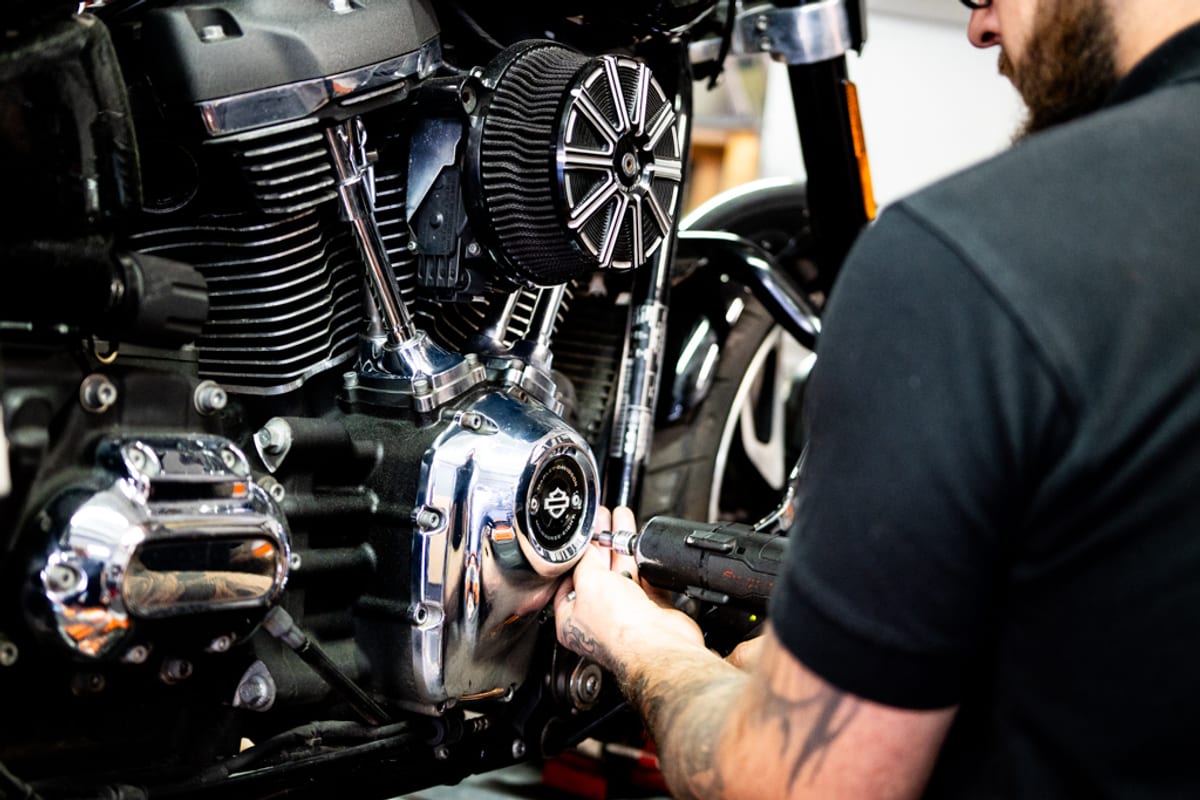
Start with the exact filter or plug reference and the fitted engine or intake. Similar appearance, the same thread or a familiar brand name does not prove that a service part has the required specification.
Air filter
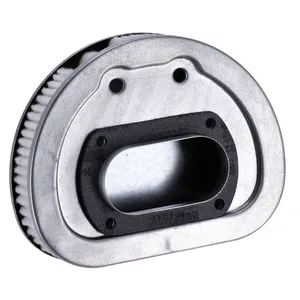
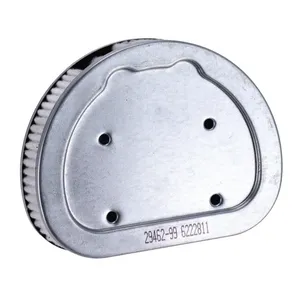
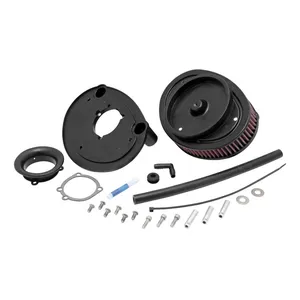
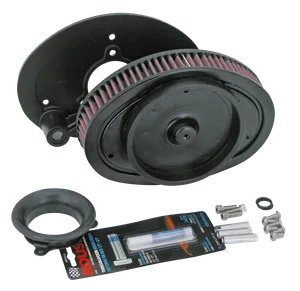
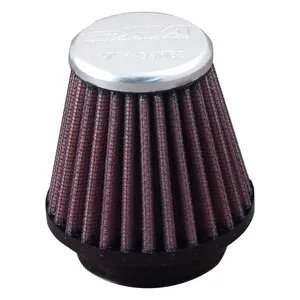
Inspect and service the element according to the motorcycle and intake instructions, with extra attention after dusty use. Paper, washable dry and oiled cotton elements have different cleaning requirements. Do not add oil to a dry element or assume every Screamin’ Eagle, K&N or S&S filter uses the same process. Check the seal and mounting while the element is accessible, and replace a damaged element rather than trying to restore it with aggressive cleaning.
Oil filter
Replace the oil filter with the engine oil at the scheduled service. Match the exact engine application, prepare the sealing surface and follow the filter and manual instructions for installation. H-D’s oil-service guidance uses a specified turn after gasket contact for its example; there is no universal 17 ft-lb filter torque. Use the separate drain-plug torque and seal requirements, then verify the level and check for leaks as directed.
Spark plugs
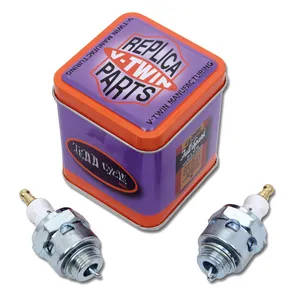
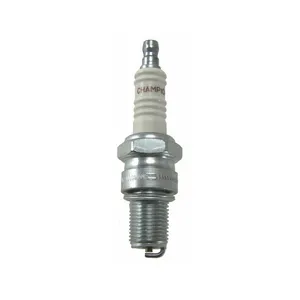
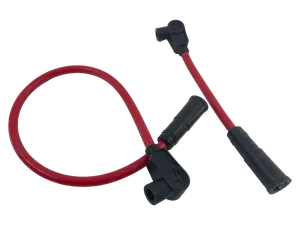
Confirm plug quantity, reference, heat range, gap and replacement interval from the exact engine’s instructions. The Milwaukee-Eight uses four plugs, but other Harley engines and modified heads must be checked individually. Fit the specified plug and tighten by the correct procedure. Replacing serviceable plugs early is not a guaranteed performance improvement; persistent fouling or misfiring needs diagnosis.
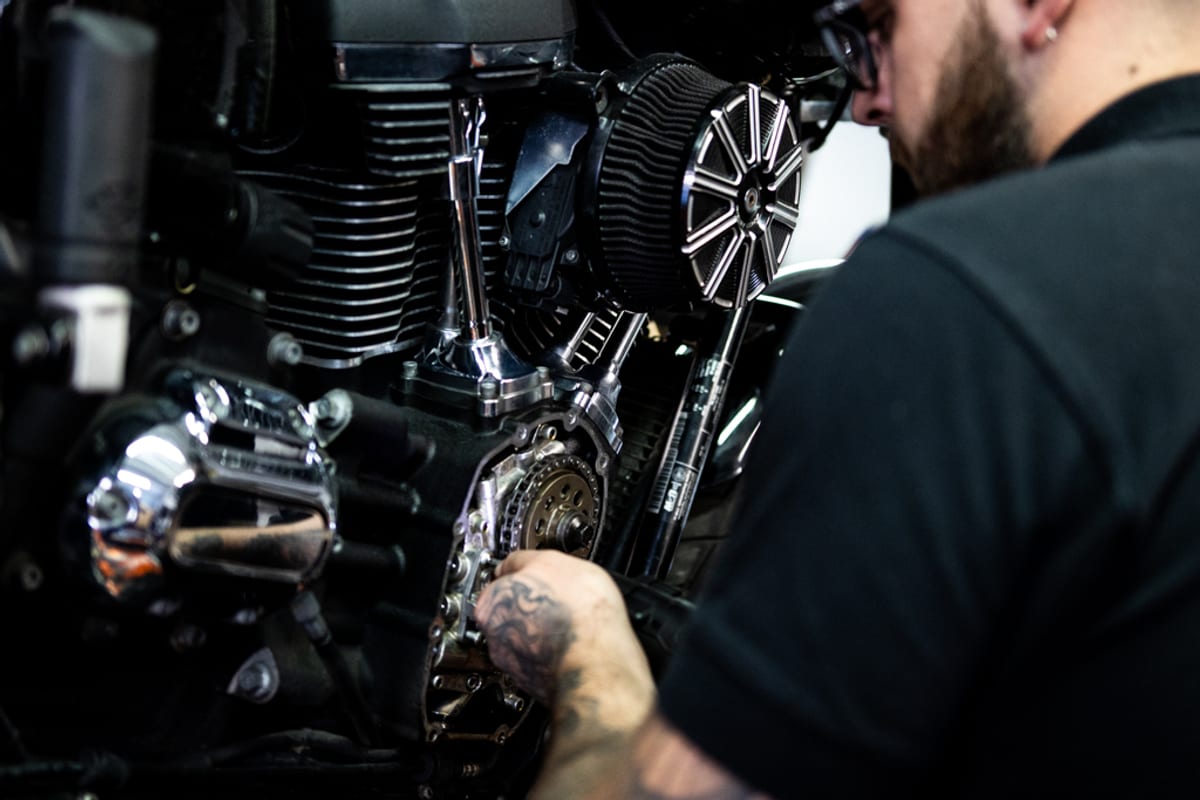
Browse air-intake filters and parts, oil filters and ignition and electrical service items. Use the H-D Service Information Portal for the service information that belongs to your motorcycle.
The bits that stop you
Brakes, Tyres & Wheels
Wear checks need the correct limits for the fitted components. Investigate a change in braking, tyre pressure or wheel behaviour promptly rather than waiting for the next oil change.
Brake pads
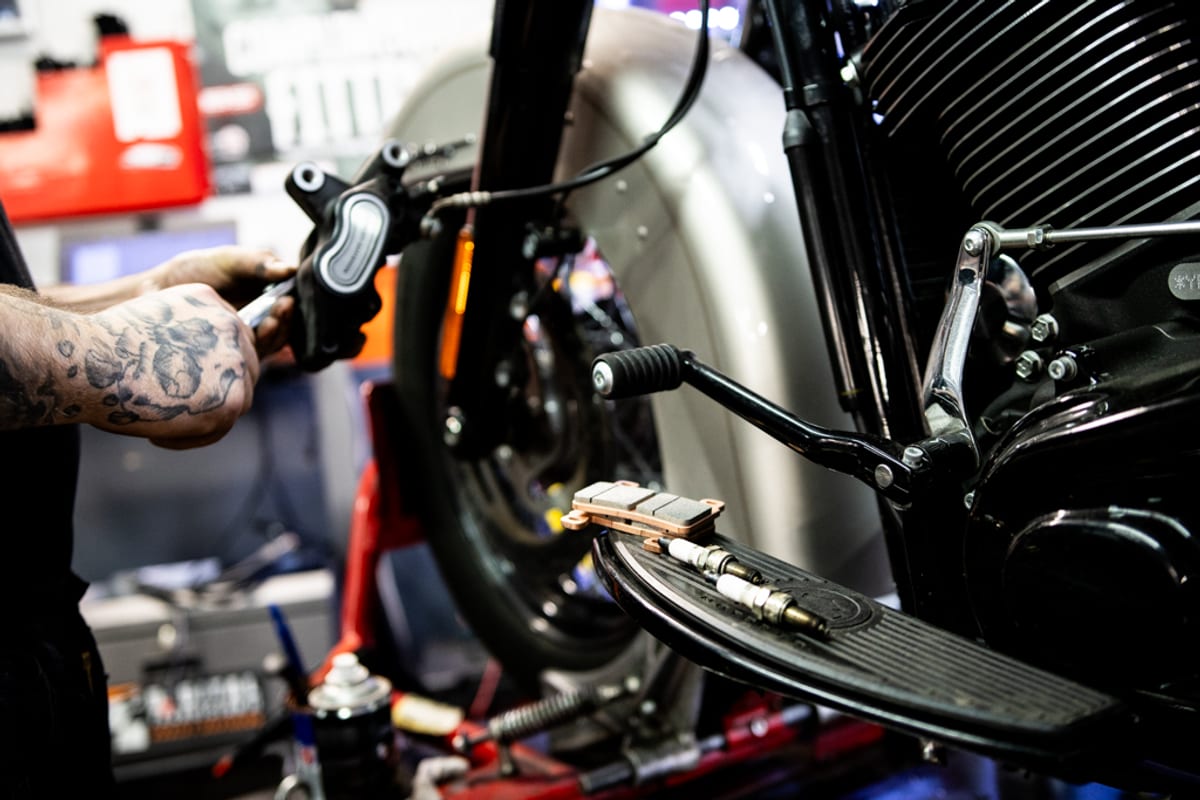
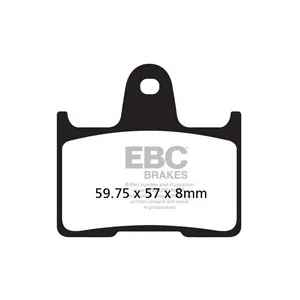
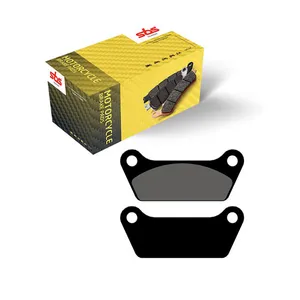
Match pads to the caliper and rotor, then choose a compound approved for that combination and intended use. Sintered, organic and other compounds are not a universal best-to-worst ranking. Check the manufacturer’s wear limit and inspect both pads for uneven wear. Oil, grease or cleaning-product contamination needs proper assessment and replacement where required; polishing products should never reach braking surfaces.
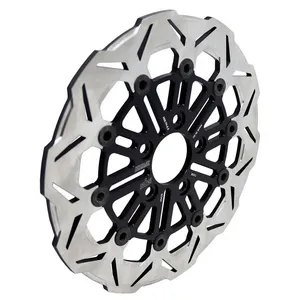
Brake rotors
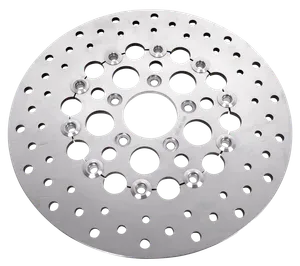
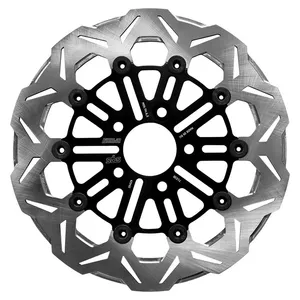
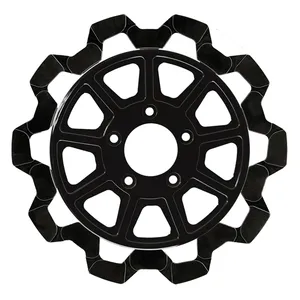
Check the rotor’s specified minimum thickness and service limits, rather than using a generic Harley figure. Thickness, surface condition and runout are different checks. Cracks, heavy wear or pulsation need diagnosis with the appropriate measurements. Confirm the correct rotor, mounting hardware and pad compatibility before ordering replacement parts.
Brake fluid and lines
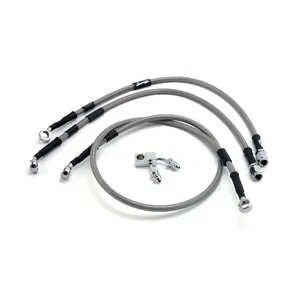
Follow the fluid guidance above and inspect hoses, connections and routing for damage or leakage. A braided-line replacement is a compatibility and installation decision, including ABS fittings, length and clearance through steering and suspension movement. H-D ABS brake-component instructions require a diagnostic bleed when the hydraulic system is opened. Use the exact motorcycle’s procedure and qualified help where needed.
Tyres
For motorcycles over 50 cc, the Great Britain MOT manual generally requires at least 1 mm of tread in a continuous band covering three-quarters of the breadth around the entire circumference, with the pattern visible over the rest. It also describes the exceptions. Do not treat that minimum as a grip guarantee. Check wear, cuts, bulges, cracking and pressure loss, and follow the tyre maker’s age and inspection guidance.
Measure pressures cold and use the motorcycle manufacturer’s recommendation for the load. Replacement tyres need the correct size, construction, load and speed rating, front/rear application and approved combination. A tyre family name by itself does not establish a match. The H-D tyre guide explains the importance of wear and condition checks.
Wheel bearings
Excessive play or roughness needs inspection. Safely supporting a heavy motorcycle and replacing bearings require the correct equipment and procedure; do not improvise a lift or assume any movement has one cause. Include wheel security and condition in the assessment.
Browse brake parts, tyres and wheel components, and brake lines and hardware.

Power & light
Battery, Charging & Electrical
A bike that is parked still draws power for some electrical functions, while the battery also self-discharges. Plan charging around the fitted battery, the motorcycle’s instructions and how long it will stand. A slow starter is a symptom to investigate, not proof that the battery alone needs replacing.
Battery basics
Many Harleys use a sealed AGM battery, but the installed battery may be a lithium replacement or another specified type. Confirm chemistry, dimensions, terminal layout and electrical requirements. A resting voltage reading helps assess charge; it does not on its own prove starting capacity or diagnose the charging system. Match replacements through the Part Finder and the battery application data.
Smart chargers and tenders
Use an automatic charger with the mode and ratings approved for the battery. H-D’s charging guide distinguishes AGM and lithium use. A charger’s recovery or desulfation programme is not suitable for every battery chemistry. Inspect the fused lead and connector polarity; a similar plug does not establish compatibility. Follow the connection, ventilation and storage instructions for the charger and battery.
Lighting
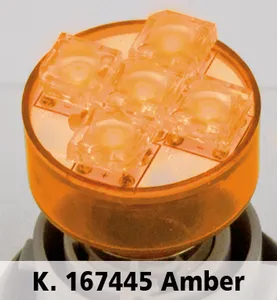
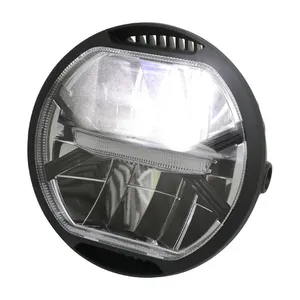
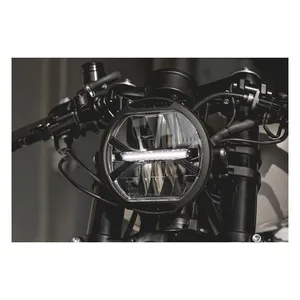
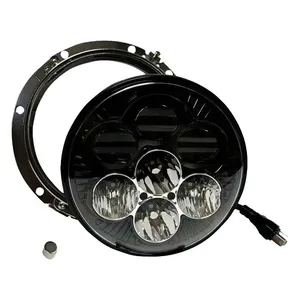
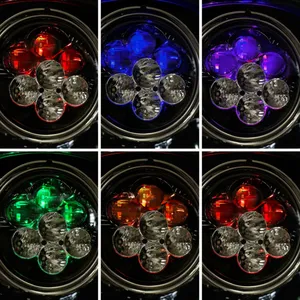
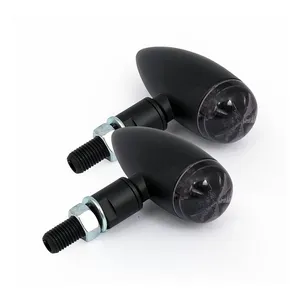
Check headlamp aim, stop lamps, indicators and the other required lights. Replacement lamps must suit the motorcycle’s wiring, control system and intended road use. An LED conversion can need additional control or load arrangements; do not fit resistors without understanding their heat and electrical requirements. The motorcycle MOT lighting rules cover operation and beam pattern. An approval mark alone does not confirm that a fitted lamp meets every requirement.
Fuses, switches and wiring
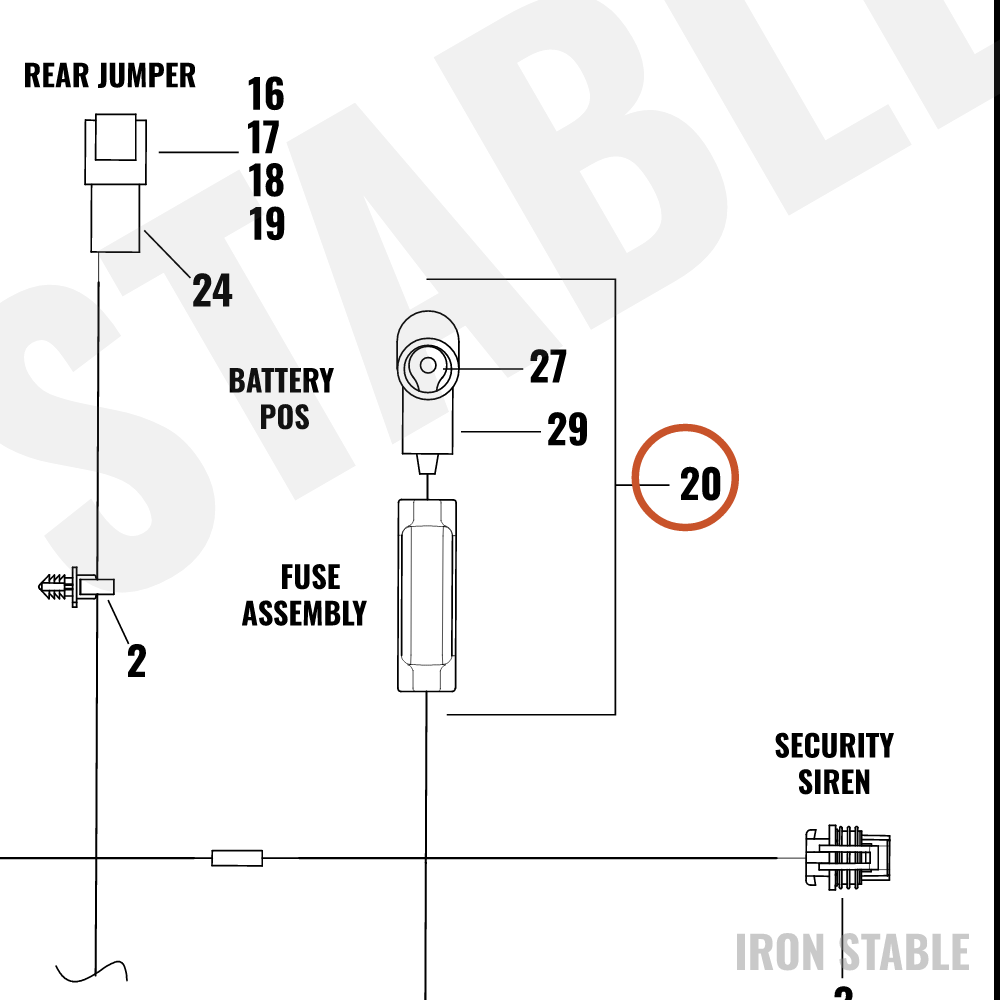
Inspect accessible wiring for damage, corrosion, insecure connections or overheating, particularly around accessory installations. Replace a fuse only with the specified rating and investigate repeated failures. Use the wiring diagram and approved repair method instead of bypassing protection or guessing which wire to join.
Browse electrical service parts including batteries, chargers, lighting, fuses, switches and wiring.
The last mile
Drive Belt, Cables & What to Leave to a Dealer
Identify whether the bike has its original belt drive, a factory chain drive or a conversion. Match inspections and replacement parts to that actual arrangement, including any changes to suspension or wheel position.
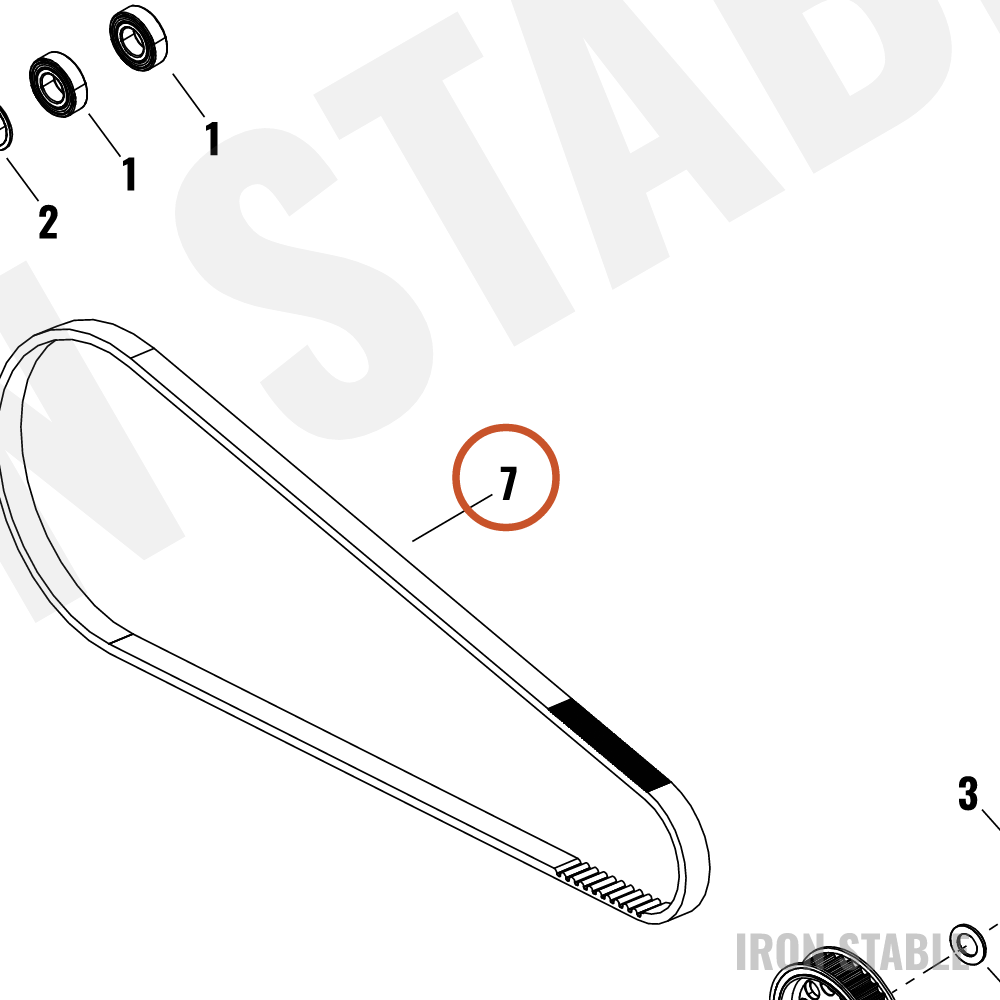
Drive belt
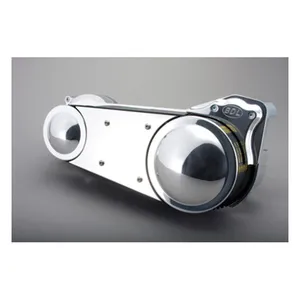
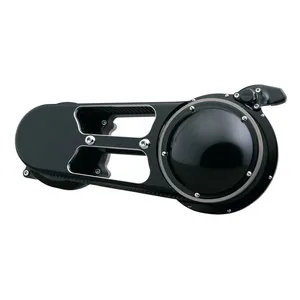
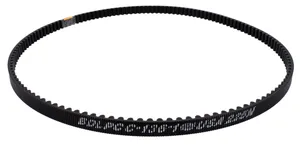
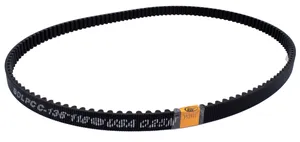
Check the belt and pulleys for damaged teeth, cracks, frayed edges and trapped debris. Measure deflection with the specified force and the motorcycle supported and loaded as the manual requires. There is no single correct 5/16–7/16 inch setting across the range. A replacement must match the application, tooth count and width; an assumed lifespan is no substitute for inspection. Belt replacement can involve substantial dismantling, so review the service procedure before buying the associated seals and hardware.
Sprockets and chains
Chain-driven Harleys include modern Pan America models as well as older machines and conversions. Use the specified chain type, slack and maintenance schedule. H-D’s chain-care guidance explains why cleaners and lubricants must suit the chain seals and why wet or dirty use needs extra attention. Inspect chain and sprockets together. Keep the engine off while working around the drive and rotate a safely supported wheel by hand.
Cables
Check cable condition, free movement, routing and the model’s adjustment requirements. Some cables have liners that need a particular care method; do not apply a universal lubricant to every cable. Replace damaged or binding controls and check operation through the full steering movement. Electronic throttle and hydraulic clutch systems need their own instructions.
Deciding what to do at home
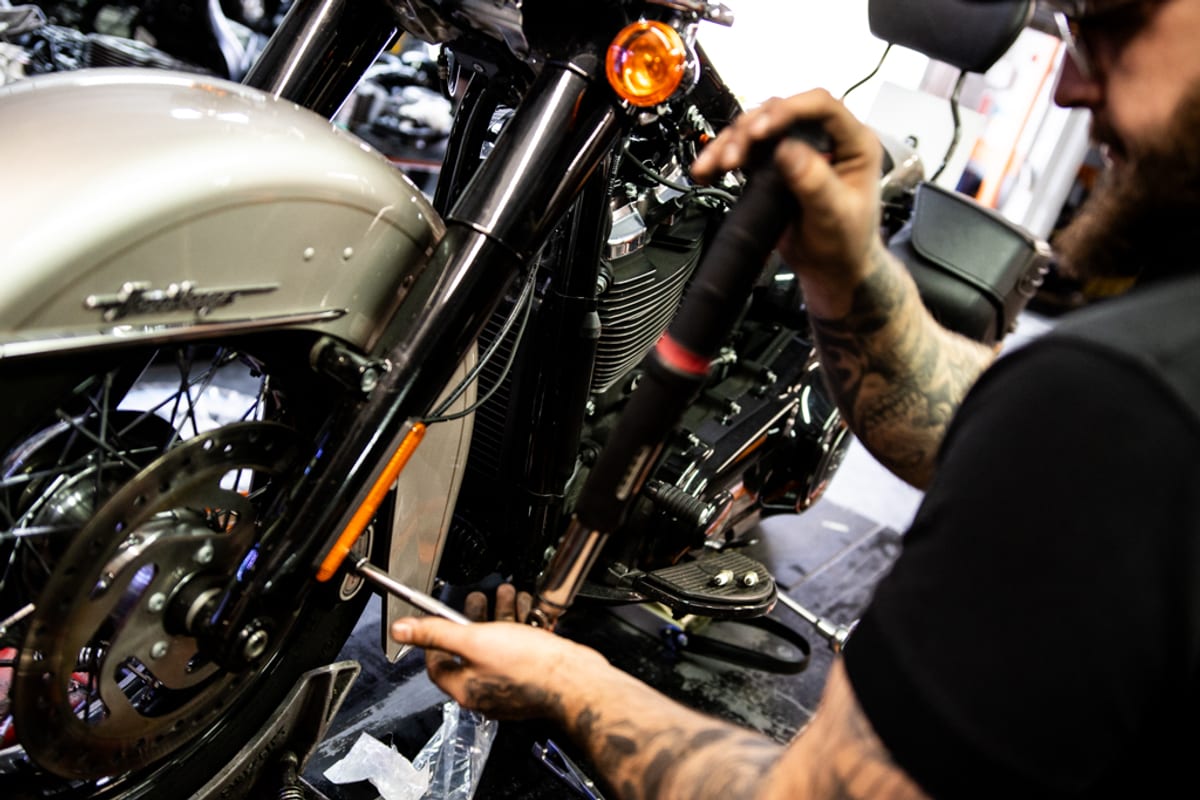
Owner-manual inspections, tyre pressure checks and careful cleaning are useful starting points. Fluid and filter work still needs the right manual, replacement seals, tools and verification. Brake, wheel, steering, suspension and drivetrain jobs require the ability to support the bike, follow the full procedure and check the result. Use a qualified dealer or independent specialist where the necessary tools, service information or experience are missing. Diagnostic ABS work is not replaced by an ordinary vacuum bleeder.
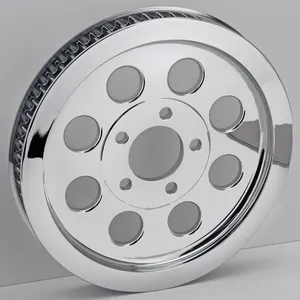
Browse drive belts and pulleys, clutch and throttle cables, and sprockets and chains. Use the H-D Service Information Portal to identify the work before ordering.
Harley-Davidson
Ihre Harley-Davidson reinigen und pflegen
Sehen Sie vier vollständige Harley-Davidson-Filme oder lesen Sie die ausführlichen Erklärungen. Jeder Produktlink bezeichnet die aktuelle internationale Flasche; Unterschiede zu den US-Referenzen der Filme werden unten erläutert.
Leichter Staub oder eine Wäsche mit Wasser?
Wählen Sie das Verfahren nach der Verschmutzung. Everyday Detailer dient der leichten Reinigung zwischen dem Wachsen; Quick Wash wird mit Wasser und Abspülen gegen Schmutz, Öl und Insekten eingesetzt.
Everyday Detailer: leichte Reinigung und UV-Schutz
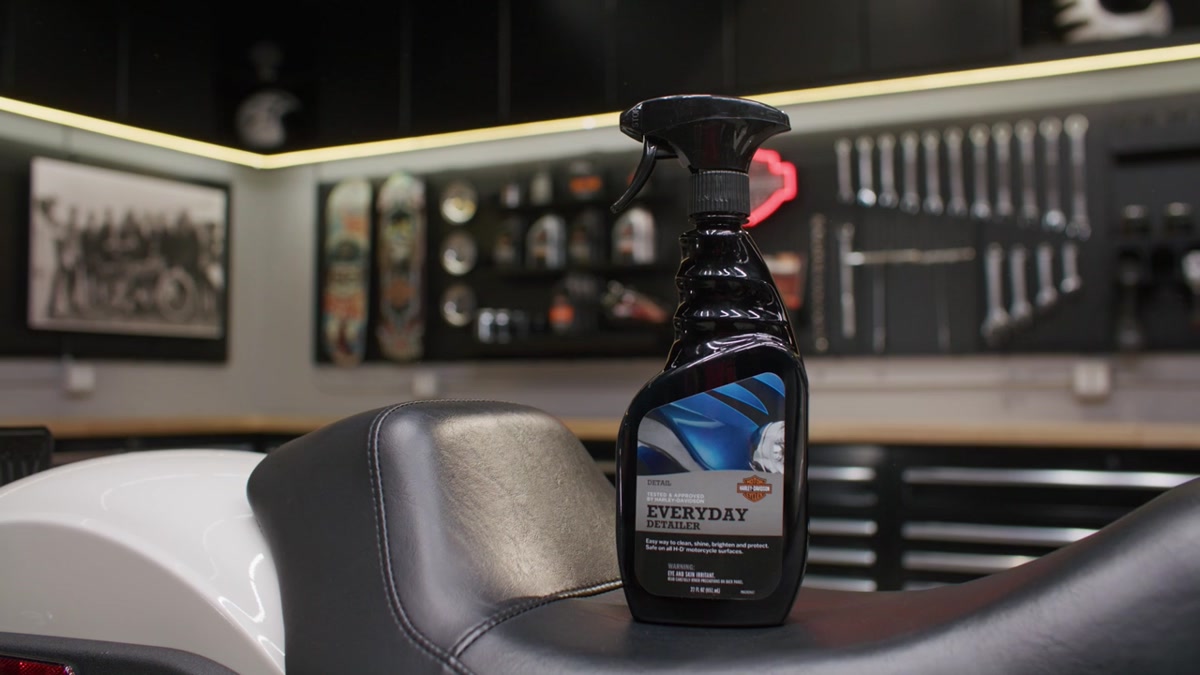
Everyday Detailer ist für die leichte Reinigung zwischen dem Wachsen gedacht, zu Hause oder unterwegs. Die nicht abrasive Formel reinigt und frischt Oberflächen ohne vollständige Wäsche auf. Die aktuelle Beschreibung zu 93600158 nennt Lack, Klarlack, Chrom, Glas, Windschutzscheiben, Räder, Vinyl und Kunststoff als geeignete Flächen. Das Produkt kommt in einer 650-ml-Sprühflasche. Der Film nennt zusätzlich Pulverbeschichtungen; diese Anwendung ist durch die aktuelle Oberflächenliste nicht bestätigt. Beachten Sie die Flaschenhinweise für Ihr konkretes Finish.
Beim Ansehen ist ein Unterschied in der Anwendung wichtig: Der Film nennt nasse oder trockene Flächen, die aktuelle Produktbeschreibung dagegen saubere, trockene Flächen. Folgen Sie den aktuellen Angaben auf der gekauften Flasche. Die Produktbeschreibung nennt Aufsprühen und Auspolieren mit einem sauberen, trockenen Mikrofasertuch. Im Film heißt es außerdem, dass Glaze beziehungsweise Polymerversiegelungen erhalten bleiben. Diese nur im Film belegte Verträglichkeitsaussage ersetzt nicht die Pflegevorgaben einer vorhandenen Beschichtung.
Die aktuelle H-D-Beschreibung nennt UV-Schutz gegen Ausbleichen, biologische Abbaubarkeit und eine Formel ohne Wachse, Öle oder Kohlenwasserstoff-Lösungsmittel. Der Film geht mit 90 Tagen UV-Schutz und der Aussage silikonfrei weiter. Die vorliegenden Produktbelege bestätigen diese zusätzlichen Angaben für die aktuelle Flasche nicht. Deshalb werden hier weder 90 Tage Schutz noch eine aktuell silikonfreie Rezeptur zugesagt. Der allgemeine UV-Schutznutzen ist unabhängig von diesen offenen Details belegt.
Produkte in diesem Film
Quick Wash gegen Schmutz, Öl und Insekten
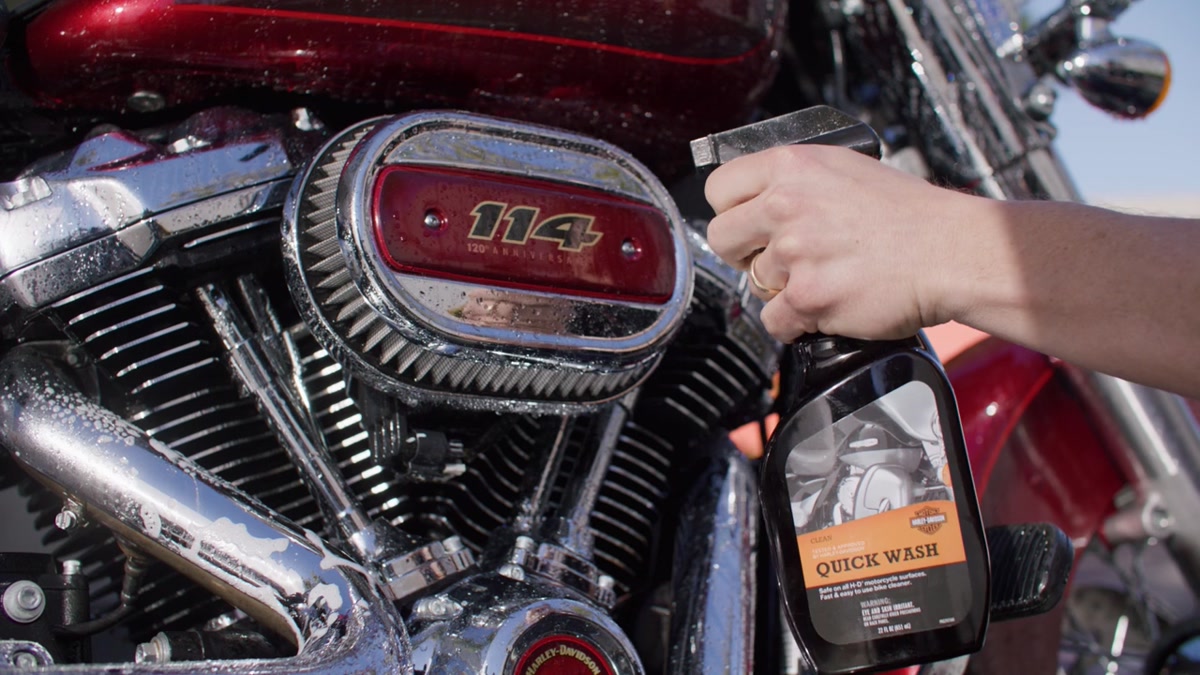
Quick Wash ist ein Reiniger zum Aufsprühen und Abspülen von Schmutz, Öl und Insekten, auch an von Hand schwer erreichbaren Stellen. Laut H-D lässt seine flächige Ablaufeigenschaft Wasser sauber ablaufen und verhindert Fleckenbildung. Der Film zeigt einen schnellen Reinigungsvorgang, erklärt aber auch, dass festgesetzter Schmutz oder Insekten mit Mikrofasertuch oder Waschhandschuh gelöst werden müssen. Eine Reinigung jedes Motorrads völlig ohne Wischen wird damit nicht zugesagt.
Im gezeigten Ablauf wird das Motorrad zuerst abkühlen gelassen und mit Wasser vorgespült, weil der Reiniger durch Wasser aktiviert wird. Quick Wash aufsprühen, mindestens eine Minute wirken lassen und anschließend mit dem Schlauch abspülen; bei Bedarf Tuch oder Waschhandschuh für hartnäckige Ablagerungen verwenden. Auch die aktuelle internationale Produktbeschreibung nennt Aufsprühen, eine Minute Wartezeit und Abspülen. Beachten Sie die aktuellen Flaschenhinweise für Oberfläche und Bedingungen sowie den im Film gezeigten Zusammenhang von abgekühltem Motorrad und Vorspülen.
Hier zugeordnet ist die internationale Ausführung 93600171 in der 650-ml-Sprühflasche; die US-Referenz des Films lautet 93600162. H-D gibt an, dass die Formel weder Wachs entfernt noch Befestigungen oder Speichen korrodieren lässt und Leder- oder Vinylsitze und Satteltaschen nicht verfärbt. Im Film werden auch Chrom, Lack und Gummi genannt. Das sind Herstellerangaben zur bestimmungsgemäßen Anwendung, keine bedingungslose Garantie für jede Beschichtung, Verschmutzung oder Reinigungsmethode.
Produkte in diesem Film
Glanzlack und seidenmatte Verkleidungen
Feine Spuren im Glanzlack und Schmutz auf einem Sitz erfordern unterschiedliche Produkte. Vergleichen Sie das gezeigte Finish, die Anwendung und die Materialeinschränkungen vor der Auswahl.
Scratch & Swirl Repair für feine Spuren im Glanzlack
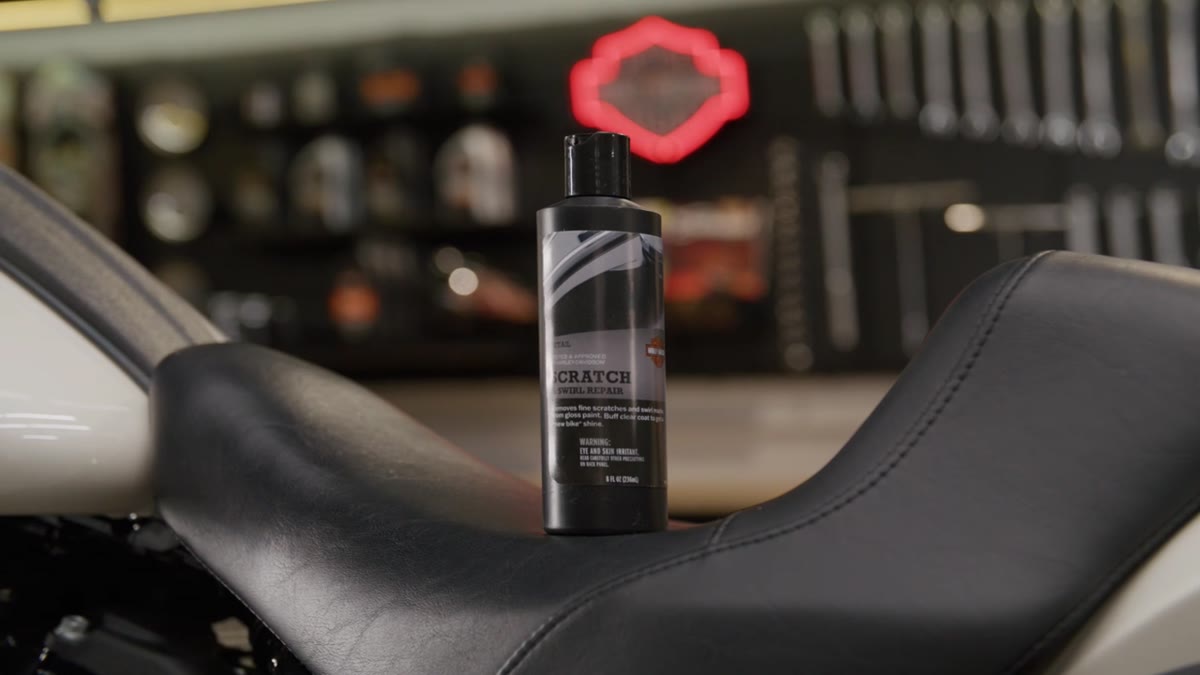
Scratch & Swirl Repair ist für feine Kratzer und kreisförmige Waschspuren auf glänzendem Lack gedacht, etwa durch ein verschmutztes Tuch oder eine ungeeignete Bürste. Der Film erklärt, dass die nicht starren Schleifpartikel zunächst den Klarlack glätten und beim weiteren Auspolieren weniger aggressiv werden, um eine glänzende Oberfläche zu hinterlassen. Die Vorführung ist ein Anwendungsbeispiel, keine Zusage zur Reparatur tiefer Kratzer, fehlenden Lacks oder identischer Ergebnisse bei allen Schäden.
Zuordnung für internationale Märkte ist 93600156 in der 236-ml-Flasche; die US-Referenz im Film lautet 93600155. Die Formel wird als biologisch abbaubar beschrieben. Die aktuelle Produktbeschreibung ergänzt den Ablauf: am sauberen, abgekühlten Motorrad mit einem sauberen Mikrofasertuch in kräftigen Kreisbewegungen auftragen, ein bis zwei Minuten bis zu einem leichten Schleier trocknen lassen und mit einem zweiten sauberen Mikrofasertuch auspolieren. Diese Schritte stammen aus den Produktangaben und sind keine zusätzlichen gesprochenen Filminhalte.
Die Produktbeschreibung schließt klarlackierte, pulverbeschichtete oder lackierte Räder ausdrücklich aus. Diese Einschränkung für Räder verbietet nicht die Behandlung von Klarlack auf glänzend lackierten Karosserieteilen, dem im Film erläuterten Einsatzbereich. Prüfen Sie vor der Anwendung Finish und aktuelle Flaschenhinweise. Diese Erklärung und ihr Produktlink betreffen Scratch & Swirl Repair; eine zusätzliche Versiegelung oder Schutzbehandlung bleibt eine getrennte Entscheidung.
Produkte in diesem Film
Seidiger Glanz für Sitze, Satteltaschen und Verkleidungen
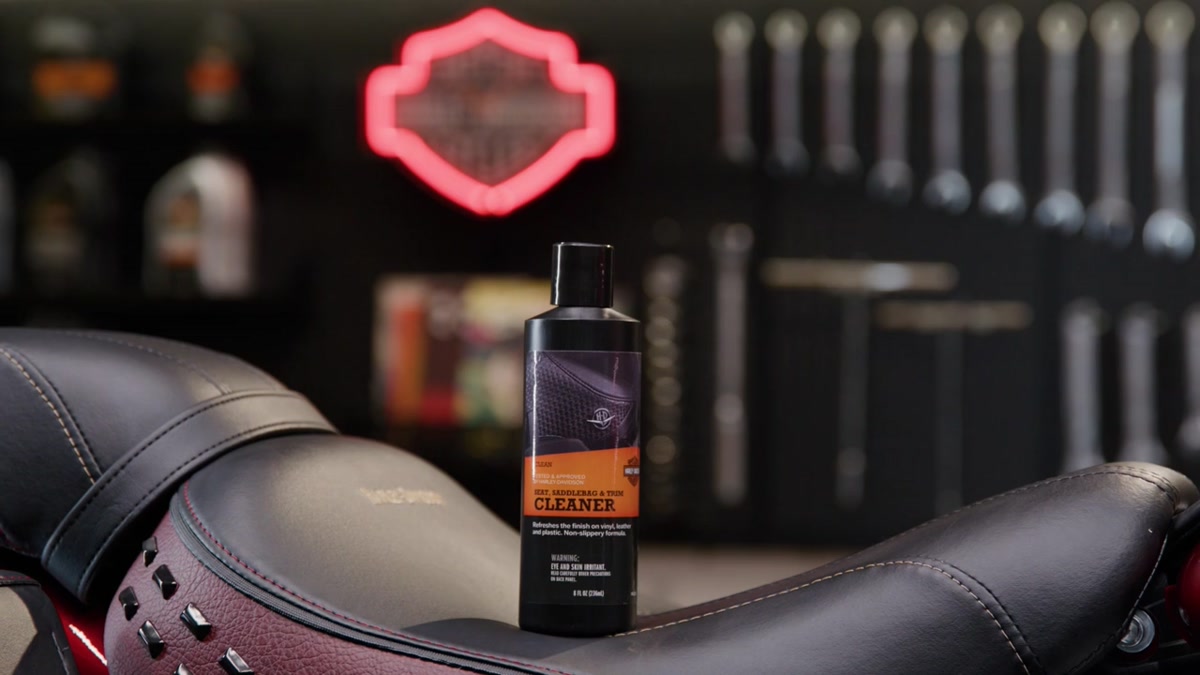
Seat, Saddlebag & Trim Cleaner ist eine einstufige Pflege für Vinyl, Leder und Kunststoff, darunter Sitze, Satteltaschen, Innenverkleidungen und Instrumententafeln. H-D beschreibt eine Reinigung und Auffrischung ohne fettige Rückstände, die weiteren Schmutz anziehen können. Die aktuelle internationale Produktbeschreibung bestätigt, dass keine Wachse oder anderen Lösungsmittel enthalten sind, die Vinyl und Kunststoff stumpf machen können. Diese benannten Anwendungen belegen keine Eignung für jedes Material oder Finish.
Das Gel mit einem Mikrofaser-Applikator auf die Oberfläche geben, anschließend angesammelten Staub und Schmutz mit einem Mikrofasertuch auspolieren. Der Film beschreibt schnelles Trocknen zu einem seidenmatten Finish; auch die aktuelle Produktbeschreibung bestätigt diesen Glanzgrad. Die internationale Zuordnung lautet 93600170 in der 236-ml-Flasche, während der Film die US-Version 93600167 nennt. Im Film werden außerdem eine rutschfeste Oberfläche und sofortiges sicheres Sitzen beschrieben. Diese Sicherheitszusage ist für das aktuelle internationale Produkt nicht unabhängig belegt. Befolgen Sie die Flaschenhinweise und prüfen Sie die behandelte Fläche vor der Fahrt; die seidenmatte Optik allein bestätigt weder Haftung noch sofortige Einsatzbereitschaft.
Produkte in diesem Film
Die Reinigung zur Kontrolle nutzen
Das Finish bestimmen
Prüfen Sie, ob es sich um Glanz-, Matt- oder Denim-Lack, beschichtetes Metall, Vinyl, Leder oder Kunststoff handelt. Beachten Sie die Hinweise zur Oberfläche und zum genauen Reiniger. Ein für ein Finish geeignetes Produkt passt nicht automatisch zu einem anderen.
Reibflächen sauber halten
Halten Sie Reiniger, Politur und Pflegemittel von Bremsscheiben, Belägen und Reifenlaufflächen fern. Verwenden Sie getrennte saubere Tücher für die verschiedenen Arbeiten. Befolgen Sie die Spül- und Trocknungshinweise und prüfen Sie das Motorrad vor der Fahrt.
Beim Reinigen genau hinsehen
Beim Reinigen lassen sich Lecks, lockere Befestigungen und beschädigte Oberflächen leichter erkennen. Notieren Sie nötige Arbeiten und prüfen Sie anschließend den Wartungsplan des Modells; optische Pflege ersetzt keinen technischen Service.
Common questions
Frequently Asked Questions
How often should I change the engine oil on a Harley-Davidson?
Use the service table for your exact model and year. H-D’s general guidance starts with the 1,000-mile service and then the 5,000-mile service points; model tables can also impose an annual limit. Short cold trips, dust and severe use can require more frequent changes. Keep the date and mileage together in your service record, and do not apply the engine-oil interval automatically to primary fluid, gearbox oil or coolant.
What’s the difference between engine oil, primary fluid and transmission fluid on a Harley?
Twin Cam and Milwaukee-Eight Big Twins have separate engine, primary and transmission lubricant compartments. Evolution Sportsters have a separate engine-oil system, while the primary and transmission share lubricant. They do not share one sump for all three. A lubricant approved for several compartments still needs to be drained, filled and checked separately in each. Revolution Max models require their own manual and should not inherit an Evolution Sportster service recipe.
When do I need to change the brake fluid?
Identify the specified fluid from the manual and reservoir marking first. H-D schedules for many DOT 4 systems require moisture checks and replacement every two years, or sooner when the specified moisture limit is exceeded. Older DOT 5 silicone systems need their own instructions; do not mix DOT 4 and DOT 5. An ABS flush or a system opened for component replacement can require a diagnostic bleed procedure. Have a qualified technician complete it if you lack the exact service data and equipment.
Can I use car engine oil in my Harley-Davidson?
Choose a lubricant approved for the exact engine or drivetrain compartment and operating temperatures, rather than relying on a car or motorcycle label alone. Wet-clutch compatibility matters wherever the oil contacts the clutch. It does not mean every Harley shares its engine oil with the clutch. Follow the manual’s specified alternatives if the normal lubricant is unavailable; do not improvise a substitution in the primary or transmission.
Do I need to keep my Harley on a smart charger over the winter?
Check the fitted battery chemistry and its storage instructions. H-D recommends a compatible automatic monitoring charger for many AGM-equipped bikes parked for more than two weeks. A lithium replacement needs a charging mode approved for that battery; an AGM recovery or desulfation programme is not automatically suitable. Check connector polarity and fused lead compatibility, and follow the battery and charger instructions.
How do I know when my tyres need replacing?
Inspect tread, damage, pressure loss and age together. The Great Britain motorcycle MOT standard generally requires at least 1 mm of tread in a continuous band covering three-quarters of the breadth around the whole circumference, with visible tread elsewhere; the manual explains the exceptions. This is a minimum inspection threshold, not a promise of grip in all conditions. Follow the tyre maker’s wear and age guidance, and ask a tyre specialist to assess cracking, bulges, cuts or uncertain history.
How often should I check the drive belt?
Include a visual check in routine care and follow the model’s scheduled inspection and adjustment requirements. Look for damaged teeth, cracks, edge damage and trapped debris. Deflection must be measured with the specified force, temperature and motorcycle loading or support condition. There is no single correct Harley belt setting or guaranteed replacement mileage.
What service can I do at home, and what should I leave to a dealer?
Start with pre-ride inspections, tyre pressures, cleaning and the owner-manual checks you understand. Fluid and filter work also needs the correct manual, parts, support equipment and torque information. Brakes, wheels, steering, suspension and drivetrain dismantling need the appropriate competence and tools. Use a qualified dealer or independent specialist for any operation you cannot complete and verify safely, including diagnostic ABS procedures.
How often should I change the spark plugs and what gap do I need?
Both the replacement interval and gap depend on the model, year and specified plug. Use the exact manual and plug instructions; do not apply one Milwaukee-Eight or Twin Cam number to every Harley. Confirm the number of plugs, heat range and installation torque before ordering. A misfire calls for diagnosis rather than an assumption that earlier replacement will improve performance.
When should I change the air filter?
Inspect and service it at the intervals specified for the fitted intake, sooner when conditions require. Paper, washable dry and oiled cotton elements need different care. Replace damaged elements; clean a reusable filter with its approved method and allow it to dry as directed. Only apply filter oil when that element requires it. A Stage 1 or Screamin’ Eagle name alone does not establish the cleaning method.
What actually is the best oil for a Harley-Davidson?
The right choice meets the specific motorcycle’s lubricant and temperature requirements. SYN3 is not a 75W-140 gear oil: the previous version was 20W-50, while H-D’s current SYN3 guidance describes a new 15W-50/SAE 50 formula compatible with models specifying 20W-50. Check the actual bottle and application approval. Oil choice does not replace the correct service interval, fill level or separate-compartment checks.
What are the most common parts that fail on a Harley-Davidson?
There is no reliable failure ranking here for every generation. Use the bike’s service history and inspection findings: leaks, damaged belts, brake wear, bearing roughness, charging faults and deteriorating wiring are reasons to investigate. Search recall information using the exact vehicle identity and ask a specialist about generation-specific concerns. Do not order internal engine parts from a generic list of supposed common failures.
Are Harley-Davidson seats interchangeable between models?
Check the exact seat’s model and year fitment, tank clearance, mounting arrangement and any required hardware. A shared family name does not establish interchangeability. Passenger seats and backrests can be separate purchases with separate requirements. The seats and luggage category provides exact-product explanations and shopping links.
Do I really have to pull the primary and swingarm to replace a broken drive belt?
The dismantling sequence depends on the chassis and drivetrain. Some Big Twin layouts require substantial primary-drive and rear-chassis work to replace the continuous belt. Check the exact service procedure before ordering the belt, seals and hardware or estimating labour. There is no universal two-hour job or safe split-belt shortcut implied by this guide.
How do I tell a cracked ignition coil from a fouled spark plug on a Milwaukee-Eight?
A misfire pattern alone cannot reliably separate a plug, coil, wiring, fuelling or mechanical fault. Record when the problem happens, retrieve diagnostic codes using the model’s procedure and inspect the specified components in the service-manual order. Avoid pulling live ignition leads or assuming a dark rear-cylinder plug is normal. Persistent misfiring needs diagnosis before further riding or buying replacement parts.